Difference between revisions of "Peripherals Guide"
m (→Komodo Simulations Collectives) |
m (→Thrusmaster Pendulam Rudder(TPR) Pedals) |
||
| (9 intermediate revisions by the same user not shown) | |||
| Line 163: | Line 163: | ||
==Throttles== | ==Throttles== | ||
| + | ===Saitek throttles=== | ||
| + | |||
| + | {| class="wikitable" | ||
| + | |+'''Saitek Controls''' | ||
| + | |- | ||
| + | |[[file:saitek_x56_rhino_throttle.jpg|150px]] | ||
| + | |'''Saitek X56 Rhino Throttle''' | ||
| + | |- | ||
| + | |[[file:saitek_x55_rhino_throttle.jpg|100px]] | ||
| + | |'''Saitek X55 Rhino Throttle''' | ||
| + | |- | ||
| + | |[[file:saitek_x52_pro_throttle.jpg|150px]] | ||
| + | |'''Saitek X52 Pro Throttle''' | ||
| + | |- | ||
| + | |[[file:saitek_x52_throttle.jpg|150px]] | ||
| + | |'''Saitek X52 Throttle''' | ||
| + | |- | ||
| + | |[[file:Saitek_pro_flight_throttle_quadrant.jpg|150px]] | ||
| + | |'''Saitek Pro Flight Throttle Quadrant''' | ||
| + | |} | ||
| + | |||
| + | ===CH Products=== | ||
| + | |||
| + | {| class="wikitable" | ||
| + | |+'''CH Products Throttles''' | ||
| + | |- | ||
| + | |[[file:CH_products_pro_throttle.jpg|150px]] | ||
| + | |'''CH Products Pro Throttle''' | ||
| + | |- | ||
| + | |[[file:CH_products_throttle_quadrant.jpg|150px]] | ||
| + | |'''CH Products Throttle Quadrant''' | ||
| + | |} | ||
| + | |||
| + | ===Thrustmaster=== | ||
| + | |||
| + | {| class="wikitable" | ||
| + | |+'''Thrustmaster Controls''' | ||
| + | |- | ||
| + | |[[file:TM_warthog_throttle.jpg|200px]] | ||
| + | |'''Thrustmaster Warthog Throttle''' | ||
| + | |- | ||
| + | |[[file:TM_T16000M_throttle.jpg|150px]] | ||
| + | |'''Thrustmaster T.16000M FCS Throttle ''' | ||
| + | |} | ||
| + | |||
| + | ===VirPil=== | ||
| + | |||
| + | {| class="wikitable" | ||
| + | |+'''VIRPIL Controls''' | ||
| + | |- | ||
| + | |[[file:vpc_mongoose_T50_throttle.PNG|150px]] | ||
| + | |'''VPC Mongoose T-50 Throttle''' | ||
| + | |} | ||
== Collectives == | == Collectives == | ||
| − | ===Virpil Collectives=== | + | ===Virpil (ka-50-esque) Collectives=== |
{| class="wikitable" | {| class="wikitable" | ||
| Line 188: | Line 241: | ||
|[[file:K51_collective.jpg|100px]] | |[[file:K51_collective.jpg|100px]] | ||
|'''K-51 Collective''' | |'''K-51 Collective''' | ||
| + | | An excellent collective for those on a budget that performs superbly | ||
|} | |} | ||
| Line 224: | Line 278: | ||
|[[file:c1-collective.jpg|150px]] | |[[file:c1-collective.jpg|150px]] | ||
|'''Flight Link Collective w/Throttle C1''' | |'''Flight Link Collective w/Throttle C1''' | ||
| − | |||
|} | |} | ||
| Line 241: | Line 294: | ||
==Rudder Pedals== | ==Rudder Pedals== | ||
| − | |||
Depending on who you talk to rudder pedals are completely optional. However if you buy a joystick that does not have a twist axis for rudder control you will need a pair for control. | Depending on who you talk to rudder pedals are completely optional. However if you buy a joystick that does not have a twist axis for rudder control you will need a pair for control. | ||
| + | |||
| + | ====Slaw Device Rudder Pedals==== | ||
| + | |||
| + | {| class="wikitable" | ||
| + | |+'''Slaw Device''' | ||
| + | |- | ||
| + | |[[file:slaw_pedals.jpg|150px]] | ||
| + | |'''Slaw Device Rudder Pedals''' | ||
| + | |These are just sublime, beautiful to behold & a pleasure to use. They are an all metal construction and connect via USB. | ||
| + | |} | ||
| + | |||
| + | |||
| + | |||
| + | [[File:|400px]] | ||
| + | |||
| + | ====Thrusmaster Pendulam Rudder(TPR) Pedals==== | ||
| + | |||
| + | {| class="wikitable" | ||
| + | |+'''Thrustmaster Pedals''' | ||
| + | |- | ||
| + | |[[file:TM_TPR_pedals.PNG|150px]] | ||
| + | |'''Thrustmaster Pendulam Rudder (TPR) Pedals''' | ||
| + | | Typical Thrustmaster Quality | ||
| + | |} | ||
====Saitek Pro Flight Rudder Pedals==== | ====Saitek Pro Flight Rudder Pedals==== | ||
| + | [[File:61MPZbU0SZL. AA1280 .jpg|thumb|Saitek Pro Flight Rudder Pedals]] | ||
These are generally well reviewed and come in at around $100 USD from many online retailers. They are an all plastic construction and connect via USB. | These are generally well reviewed and come in at around $100 USD from many online retailers. They are an all plastic construction and connect via USB. | ||
Latest revision as of 04:01, 21 May 2021
Contents
Head Trackers: Short intro
Headtrackers are optional however after using them many players swear by them and would rather fly with a crap stick than give theirs up, thanks to the added benefit of having the ability to look around simply by moving your head.
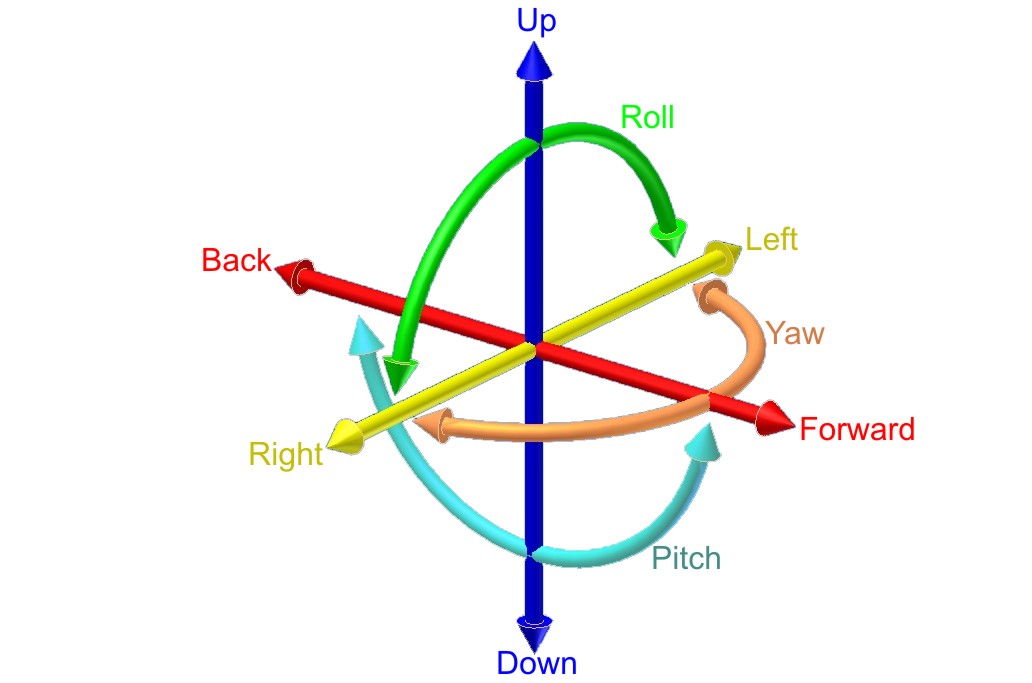
Most headtrackers work by detecting a pattern of IR lights, which are then converted into the various head movements. We typically classify these movements as 6-DOF (Degrees of Freedom), i.e. the six axis in which you can move your head (registered by the headtracker): X- (horizontal, side to side), Y- (vertical, up and down), Z- (zoom, forwards and backwards) movement, as well as X, Y, Z roll (i.e. tilting or twisting your head).
This movement is received by what is for all intents and purposes a (modified) webcam, typically placed on top of your screen. This webcam is following (tracking) a pattern of InfraRed (IR) lights and using these to decipher what your head is doing to represent this head movement in-game (albeit amplified, so you can still look at your screen). For this the webcam needs to have its infrared filter removed: infrared is invisible to the human eye and most cameras use a filter to block it out (as heatsources such as the sun radiate infrared waves and would thus overexpose the camera with light).
Once the filter is removed you can now follow a series of IR lights (placed in a pattern) to track the head movement: to still be able to look at your screen the actual head movement is amplified in the game (with your own set curves, in your headtracking software of choice). It is worth noting that the actual resolution and precision comes mainly from the camera (although the software also plays a role) and rarely has to do with the pattern of IR lights attached to your headset / hat (head).
Headtracking hardware
Below we have listed the 3 premiere headtracking solutions that people use:
Delanclip
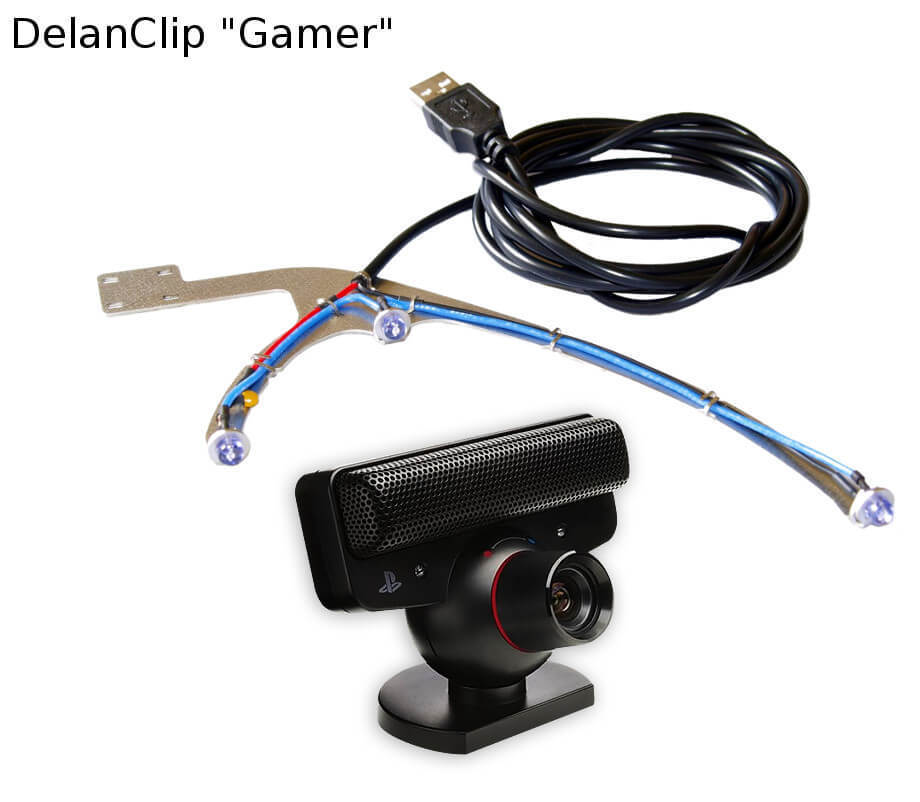
Delanclip is a low cost solution that uses 3 IR LEDs attached to a metal bracket that attaches to your headset (instead of Trackhat which as the name implies attaches to a hat or cap). It rivals the performance provided by TrackIR itself (being just shy in tracking quality, although a bit more difficult to setup but with an excellent guide), with no discernable performance drawback in bright light environments. For the price (costs around 40 EUR) vs. performance it offers it beats out TrackIR, and as such offers a good head tracking beginner set. Delanclip also manufactures a wireless clip that removes the need to be anchored to the PC via an USB wire providing power, supposedly delivering up to 8 hours of head tracking on a battery charge.
(approximately 40 EUR)
TrackIR (by Natural Point)
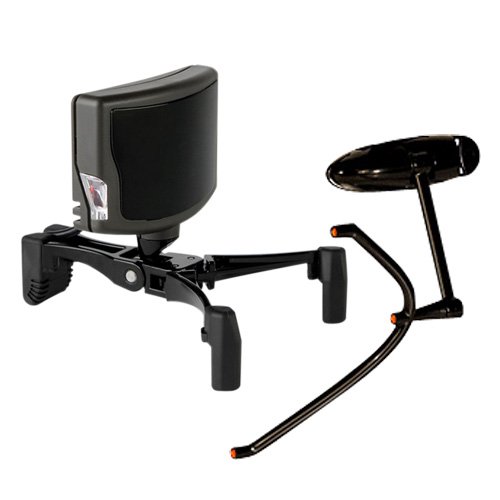
TrackIR is a commercial solution by Natural Point Inc. It is the most costly of all the head tracking options but is also quite simple to install and has a large (the largest) selection of games that natively support it, thanks to being the most well established head tracking solution on the market.
TrackIR is also a great option because it has a processor built in to the tracking unit, which means that all data processing and head movement translation calculating is done on the device itself: this means there is no performance hit on your system as this data is streamed into the TrackIR software. Other systems such as Delanclip and Trackhat instead calculate these values on the PC itself via their software, which means there is a (minor) performance hit (somewhere around 0 ~ 5%) as the system has to allocate resources to calculate these values.
(Generally speaking they run around $120 - $150)
TrackHat
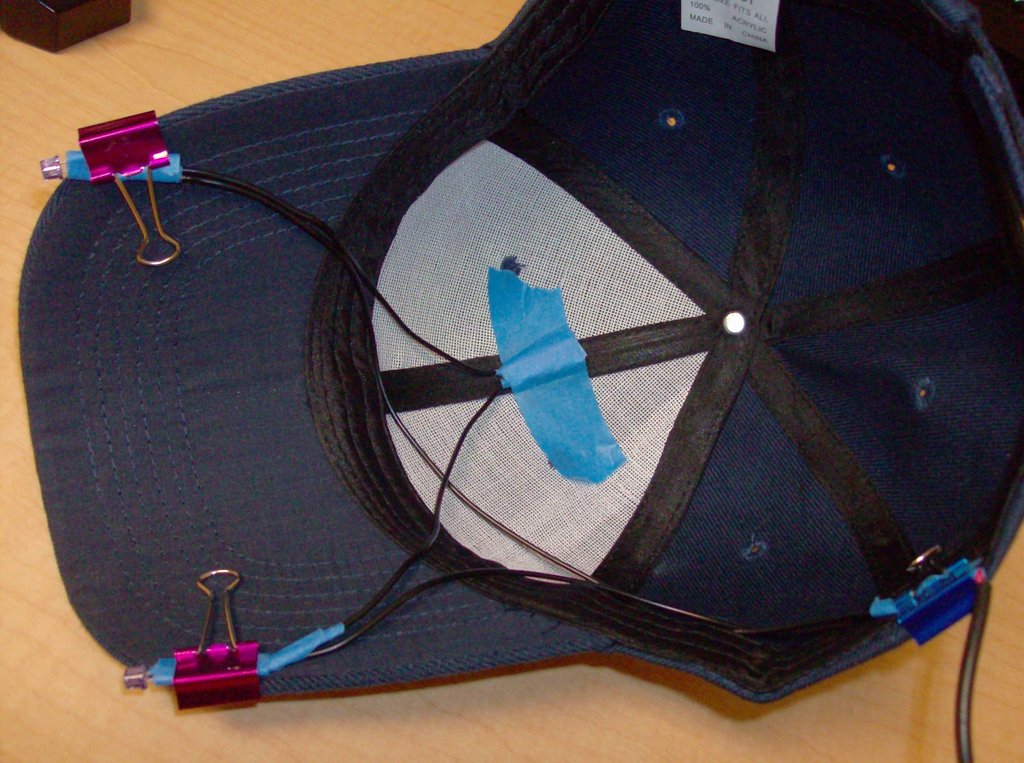
TrackHat is a middle ground option between DIY solutions such as FreeTrack, and the premium head tracking such as TrackIR. TrackHat utilises a bespoke version of OpenTrack and 3D printed clips along with pre-configured PS3 Eye cameras to provide exceptional tracking for the price (around £35 GBP). While not as good as TrackIR (TrackHat suffers a bit when you have a bright background) it certainly has more bang for buck and is a perfect starter head tracking solution.
(around $40 for everything you need)Headtracking software
FaceTrackNOIR
FaceTrackNOIR is an open source software solution using off the shelf hardware. But instead of tracking a cap / headset with 3 known points it uses facial recognition to follow the players face, thus allowing it to work standalone (in theory). This method has the lowest cost of entry (as you only need a basic webcam), however it is the least accurate and some users have issues getting it to work. Your mileage may vary.
FaceTrackNOIR PointTracker Plugin
FTNoIR PointTracker is an open source addition to the FaceTrackNOIR system. Instead of using facial recognition, this plugin uses 3 point tracking similar to FreeTrack. FTNoIR PointTracker was developed as a stable alternative to FreeTrack (which has stability issues on some newer systems and does not appear to be actively developed anymore).
Configuring FTNoIR PointTracker
OpenTrack
OpenTrack is the newest contender in the Headtracking software world and is an open-source piece of software (actively developed on Github). Although not as thoroughly vetted as FaceTrackNOIR (+ PointTracker plugin) or the TrackIR software, it does show great promise and we have heard a number of optimistic user stories about it, so feel free to give it a go!
FreeTrack
FreeTrack is an open source head tracking application using off the shelf hardware. It performs equally as well as TrackIR when properly configured for a fraction of the cost. However, assembly of the LED model requires soldering/electronics skills and the initial configuration can be time consuming. Additionally, a webcam must be permanently modified by removing its internal IR filter, and should be factored into cost. Overall FreeTrack is a cheaper "Do It Yourself" alternative to TrackIR.
See our guide for Building a Freetrack Rig.
Joysticks and throttles
HOTAS
HOTAS refers to Hands-On-Throttle-And-Stick and basically means a combination of Joystick and Throttle: this acronym is used to denote the use of both and a number of controls on these devices so that the pilots do not have to move their hands off of these devices to access most of the functionality within their airplane.
The throttle is used for applying power to the engines (i.e. going faster or slower), whilst the joystick can be used to pitch the plane up and down (i.e. make it climb or make it dive), as well as rolling the airplane from left to right (called "banking"). Some joysticks features a twist grip, that allows you to control the rudders (or turn) via twisting your wrist: the use of the twist grip is controversial as it is not very accurate for turning and you may inadvertently twist-turn your aircraft.
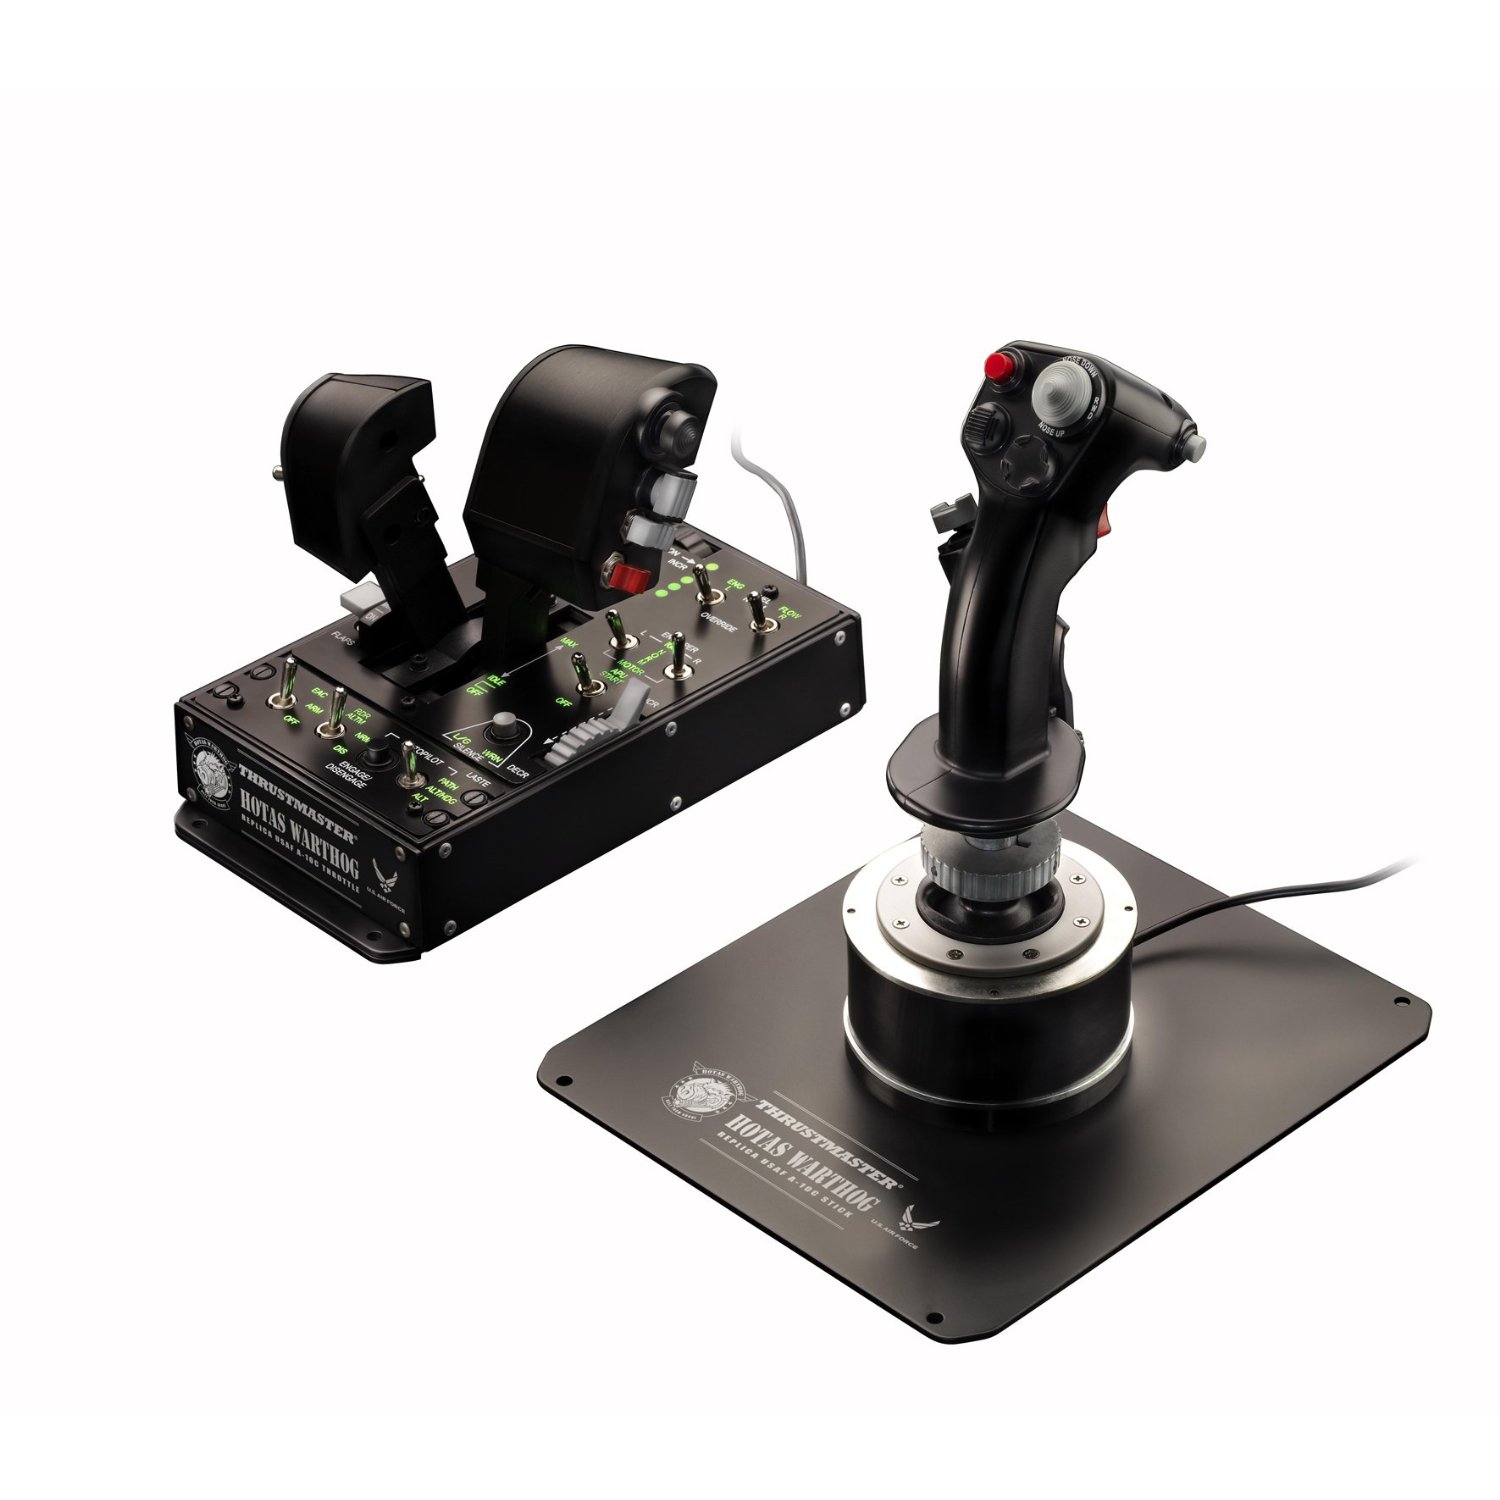
Thrustmaster HOTAS Warthog
The Thrustmaster HOTAS Warthog is the premiere HOTAS joystick and throttle for DCS: it was modeled from the real stick and throttle from the A-10C (in turn based on the F-16 HOTAS) and is solidly constructed from metal (weighing in at a whopping 14 pounds). It also boasts a large number of buttons, HAT switches (4-/5-way buttons) and other controls, as well as the use of (low wear) high precision sensors that will keep the stick going for decades. You can expect to pay between $450 to $500 USD for one new, making it a rather expensive peripheral: however it is a quality piece of hardware (for the most part). Used Warthogs can be found for around $350 to $400 however they sell quickly.
The (perceived by some) flaws of the Warthog HOTAS (those being the lubrication used in the gimbal, which is the moving part the stick attaches to, and the slew sensor itself) can be remedied if the user is willing to spent some time and money. A number of youtube videos can be found on sanding the gimbal smooth and regreasing it with more appropriate grease, though a gimbal replacement from VKB or Virpil can also be purchased to replace the original gimbal but retain the quality joystick. A replacement slew sensor can be purchased from Delta Sim if you find the original knob mouse sensor to be lacking in precision.
Overall the Warthog HOTAS is of high quality construction and will do you favor for many years to come, but nothing is perfect and some people may wish to mod their HOTAS to remove these perceived flaws.
You can also just get the stick or throttles separately if you find a good used deal.
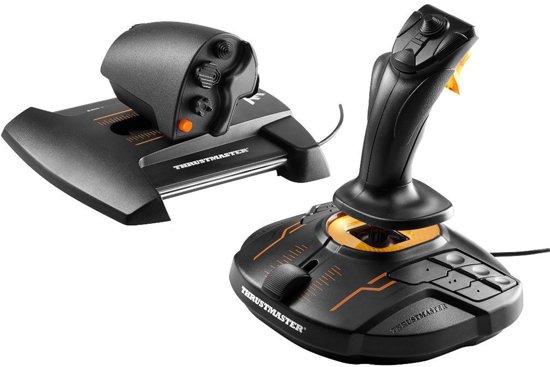
Thrustmaster T.16000M FCS Hotas
The Thrustmaster T.16000M FCS Hotas is arguably one of the best bang for buck HOTAS systems one can buy, and is a definite recommendation for any aspiring fighter pilot! Like the Warthog HOTAS the T.16K uses high precision sensors in its construction, which means that this HOTAS too will suit your for years. This HOTAS is well suited for most fighter combat games, but it may require some effort on your part in regards to the binding and mapping of functions. It does however feature a twist rudder on the joystick itself, so you do not need to get rudder pedals with this HOTAS.
As this HOTAS is in a lower price class than the aforementioned Warthog HOTAS it does not features as many functions: this means you are missing out on some buttons, switches and controls compared to most other HOTAS'. Most notably this HOTAS does not have split throttles (so you cannot control left and right engines seperately, without a modifier) and the stick itself only has a singular HAT switch on it, which makes controlling planes with more complex systems (such as the F/A-18C and A-10C) a bit more complex. However, both of these gripes can be resolved through the use of modifiers: binding a key/button to press and hold so that all other keys / buttons can be assigned to other functions when this modifier key / button is pressed.
You can also just get the stick or throttle separately if you find a good used deal
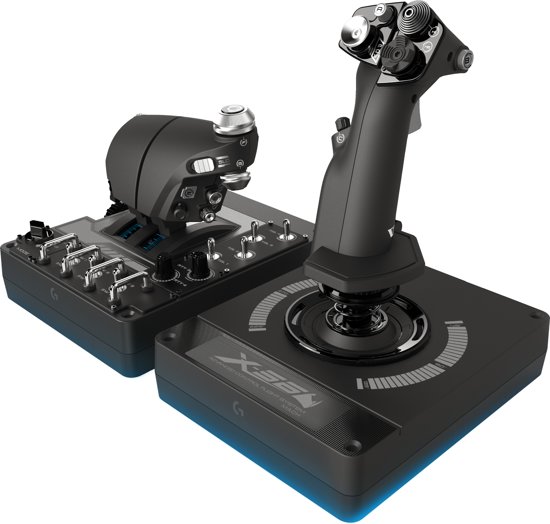
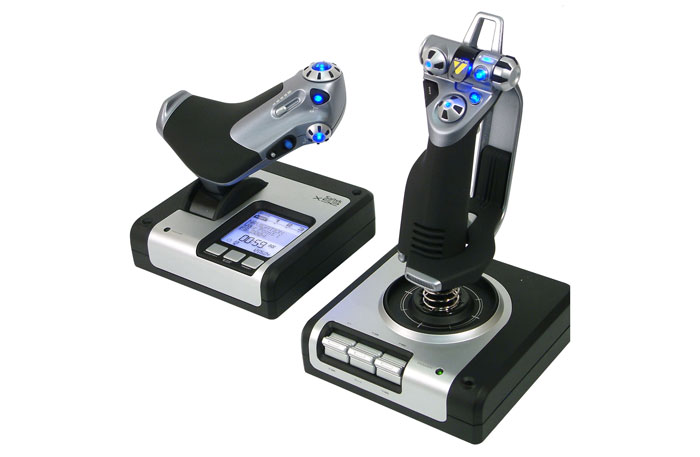
Saitek X56
The Saitek X56 is a middle segment HOTAS that offers a good price vs performance package, though it is marketed with a focus on space simulators. In practice all this means is that instead of having another button or 4-way HAT on the stick thumb position, it instead has a analogue slew lever (that can be used to control the thrusters in space sims).
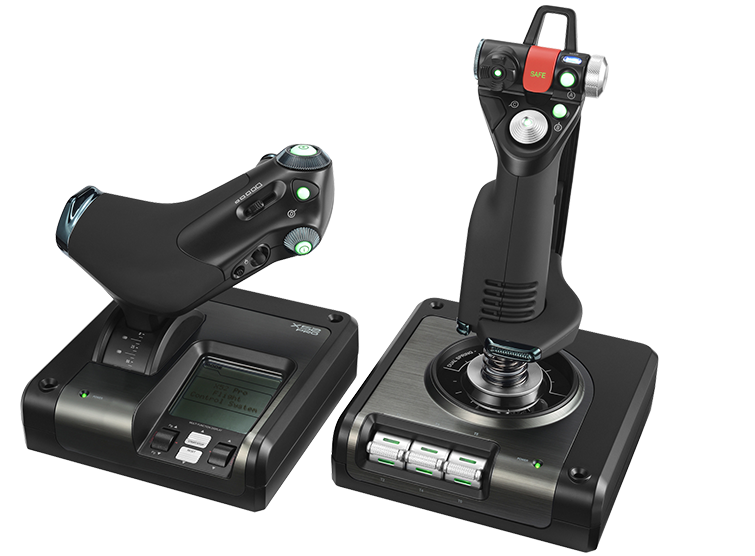
Saitek X52 and X52 Pro
The middle of the road joysticks and the most recommended by players. The non Pro variant can be obtained for about $100 new with the Pro version clocking in at around $130. The Pro is constructed from better materials and is the currently manufactured model. For players on a budget it is recommended to find one of these used either locally, on eBay, or through the Amazon Used listings. Profiles are widely available that closely reproduce the control scheme of the real joystick.
You can find a profile thanks to Iron [here]; details for each aircraft with his profile can be found here.
Joysticks
Most joysticks described in the previous HOTAS chapter can be bought separately instead of in a HOTAS pack (for if you want a different throttle or already have one), but some joysticks can only be bought seperately: sometimes even without the gimbal / base, so you are buying a seperate grip to add to your already bought joystick base / gimbal.
We will only describe Joysticks / Grips not already previously covered, as there would be not much point going over the joysticks (bought seperately) from the HOTAS sets. Do note you can mix and match most joysticks and throttles to your heart's content: for example using a T.16000 throttle and a Warthog Stick is a perfectly valid combination. Find whatever works for you! :)
Throttles
Saitek throttles
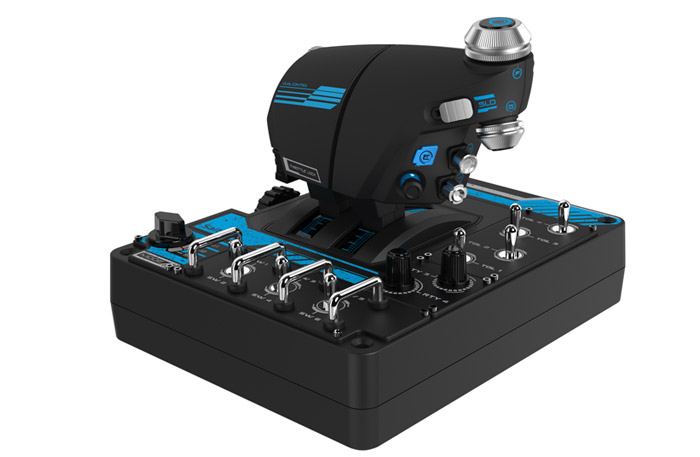
|
Saitek X56 Rhino Throttle |
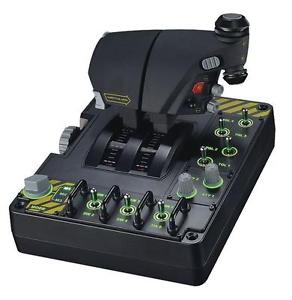
|
Saitek X55 Rhino Throttle |
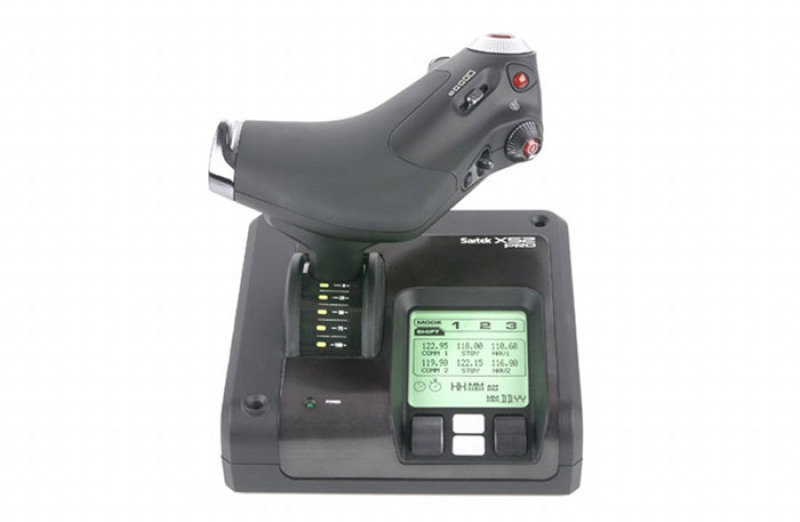
|
Saitek X52 Pro Throttle |
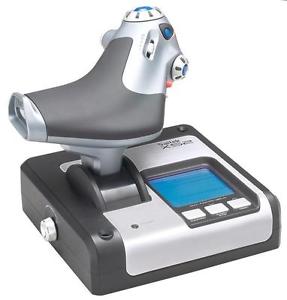
|
Saitek X52 Throttle |
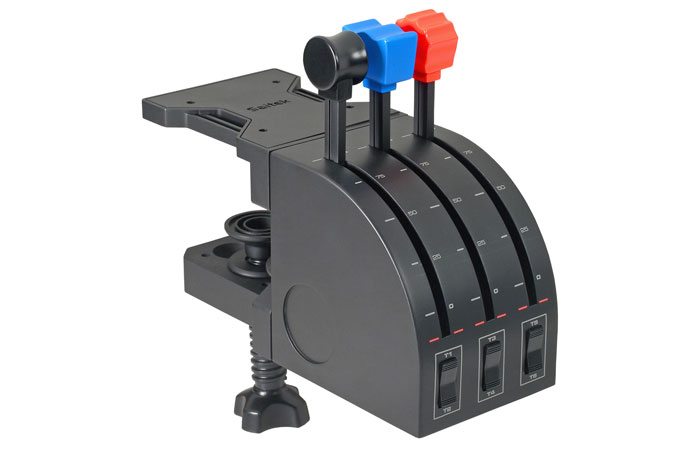
|
Saitek Pro Flight Throttle Quadrant |
CH Products
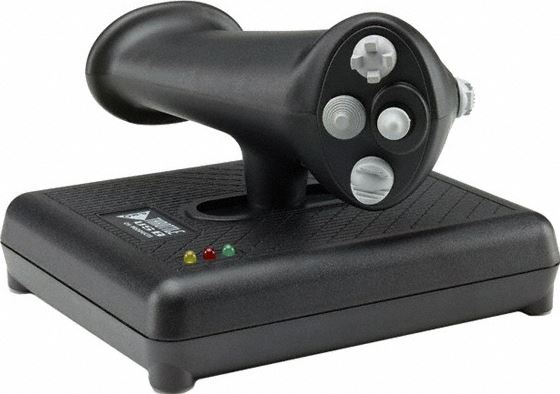
|
CH Products Pro Throttle |
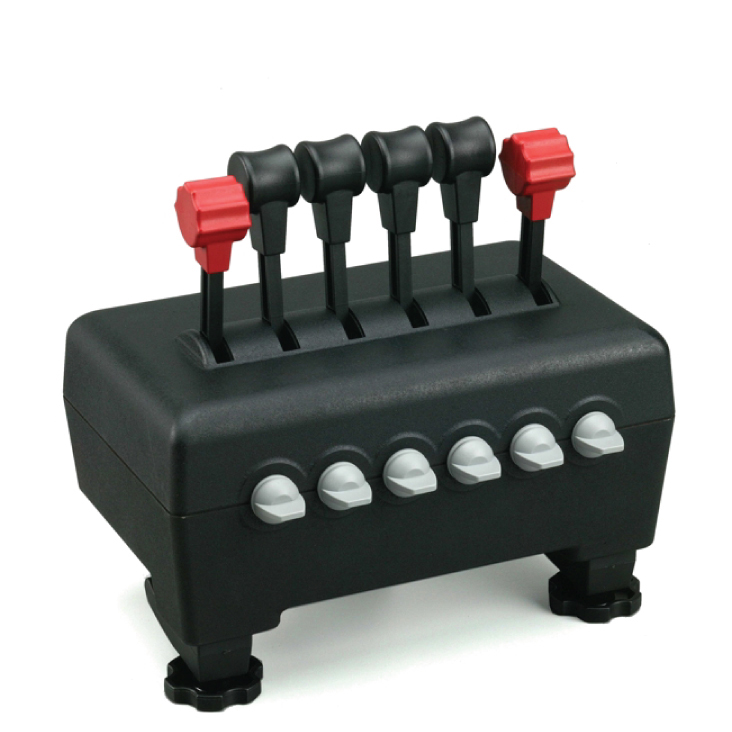
|
CH Products Throttle Quadrant |
Thrustmaster
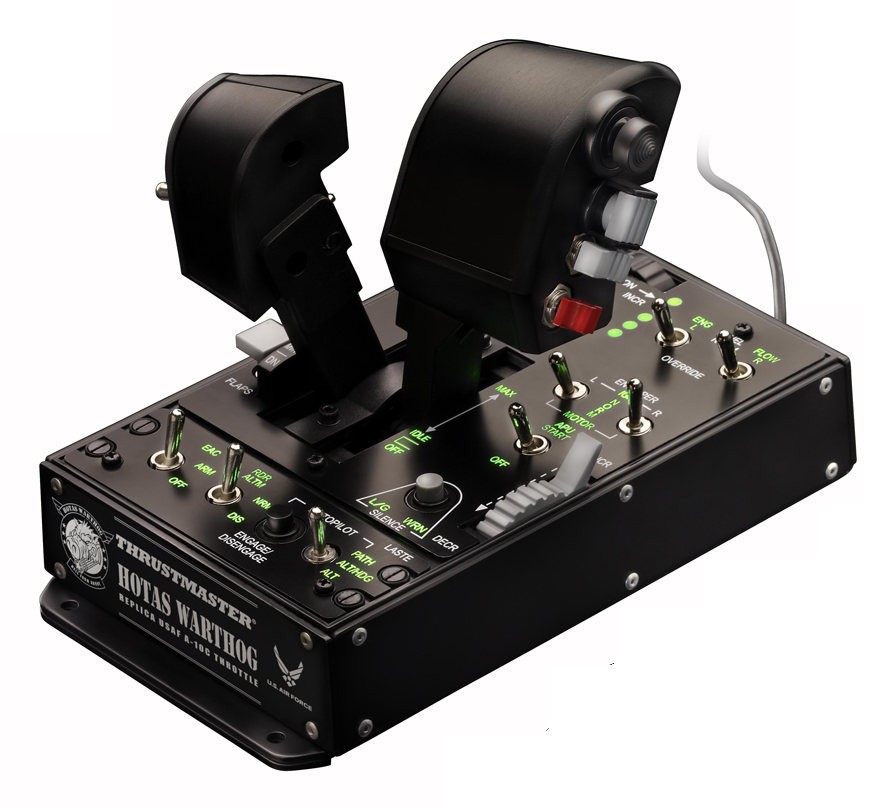
|
Thrustmaster Warthog Throttle |
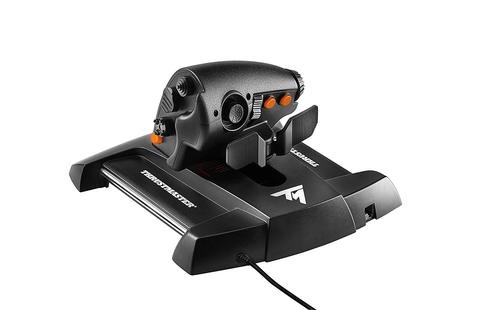
|
Thrustmaster T.16000M FCS Throttle |
VirPil
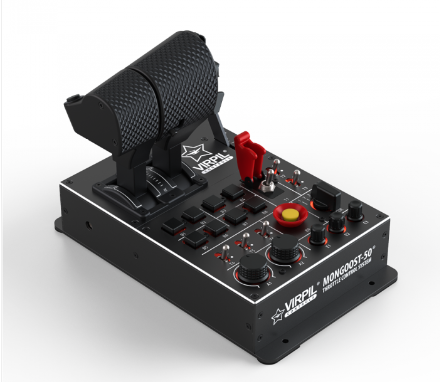
|
VPC Mongoose T-50 Throttle |
Collectives
Virpil (ka-50-esque) Collectives
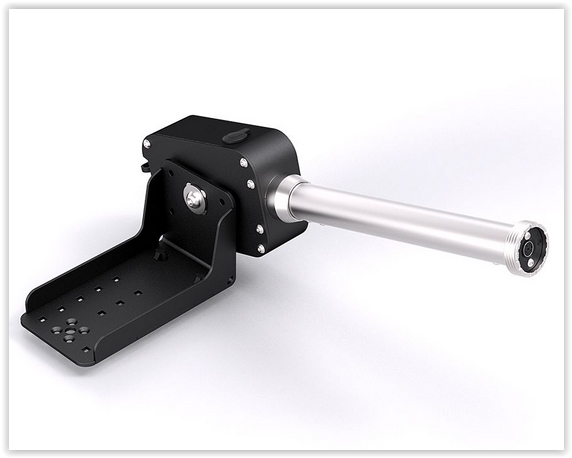
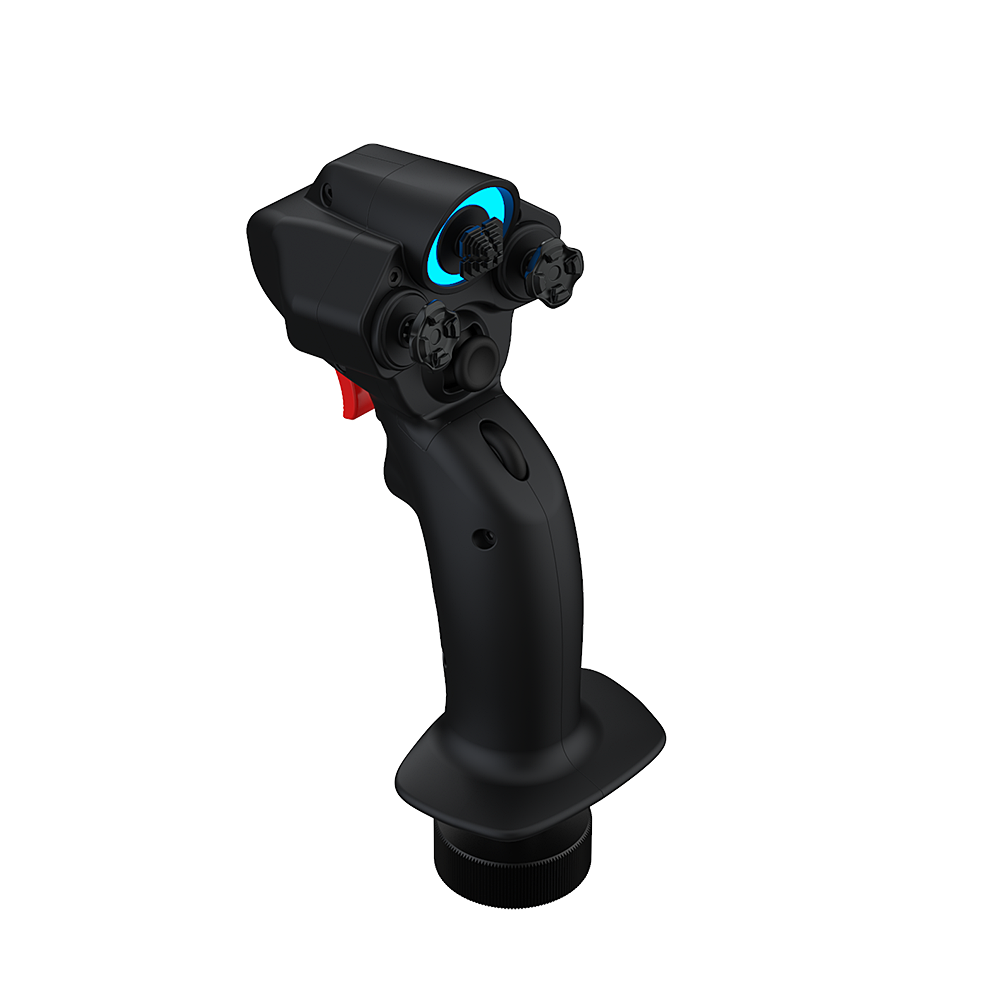
|
Virpil Controls Rotor TCS Base |
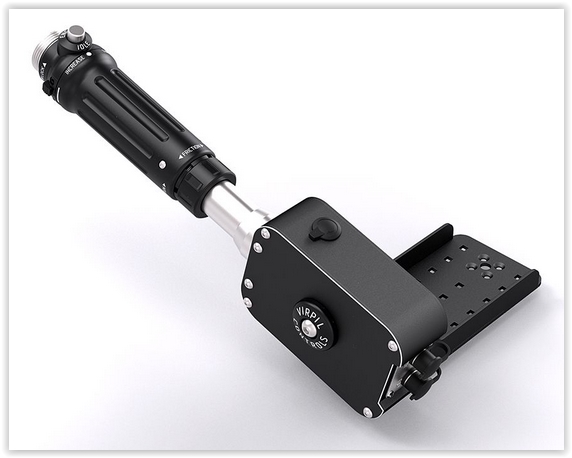
|
Virpil Controls Rotor TCS Plus Base |
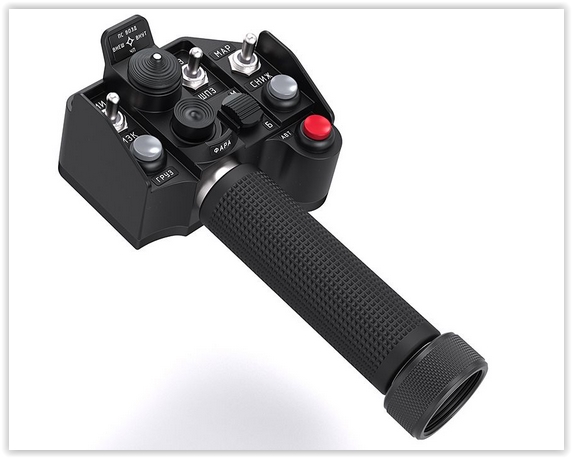
|
VPC SharKa-50 Collective Grip |
K-51 Collective
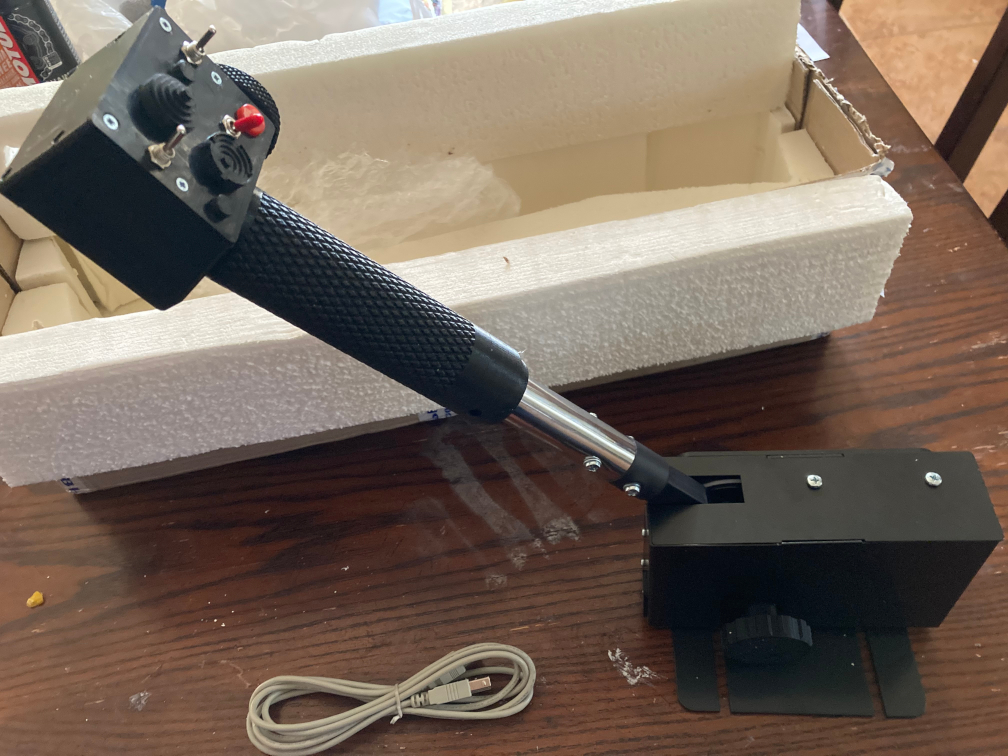
|
K-51 Collective | An excellent collective for those on a budget that performs superbly |
Komodo Simulations Collectives
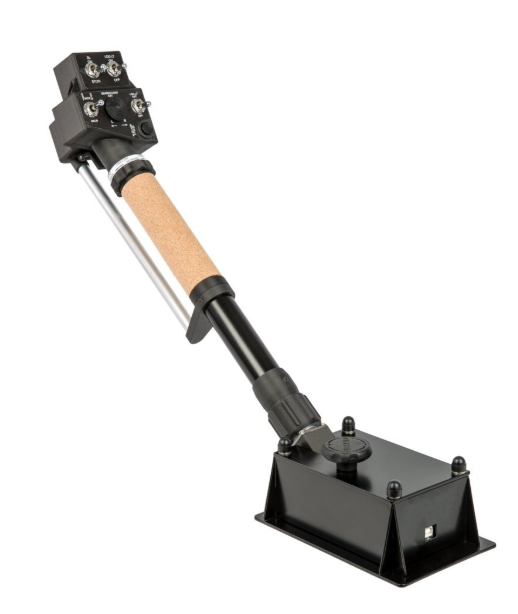
|
Komodo Simulations UH1 Collective |
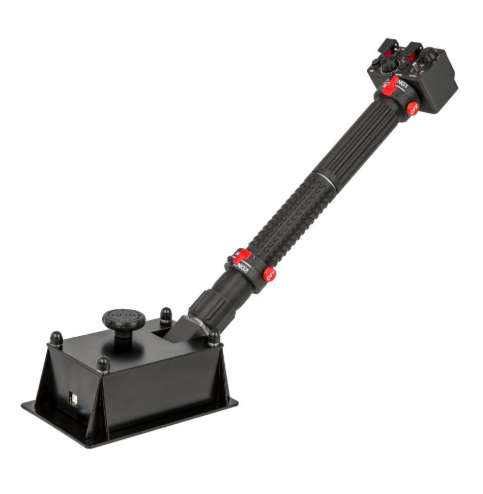
|
Komodo Simulations EC Collective |
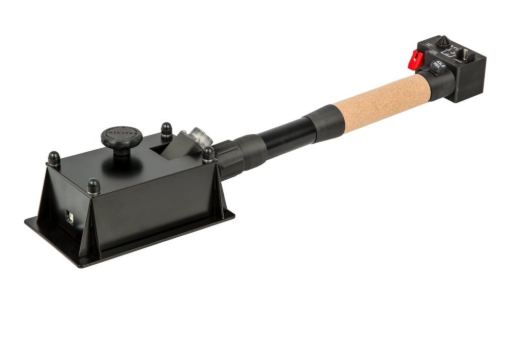
|
Komodo Simulations B407 Collective |
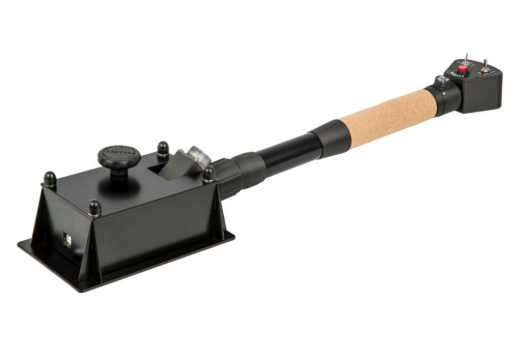
|
Komodo Simulations B206 Collective |
Pro Flight Trainer Collective
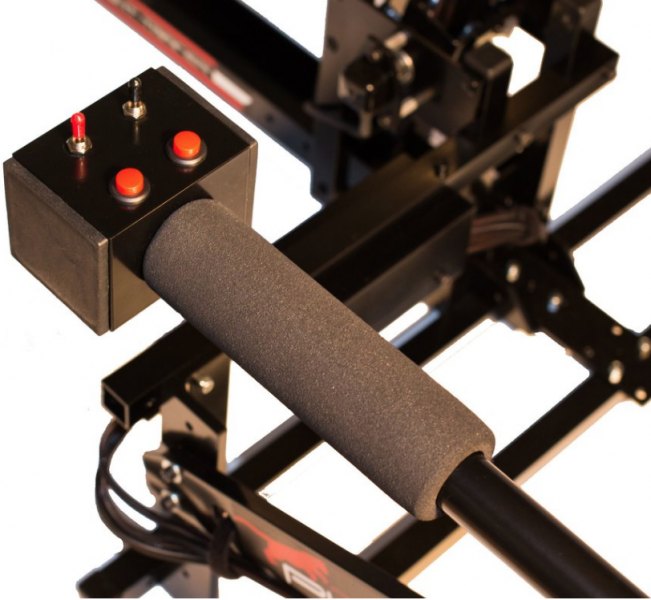
|
Pro Flight Trainer Puma Collective |
Flight Link Collective
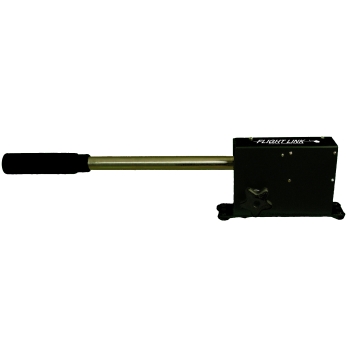
|
Flight Link Collective w/Throttle C1 |
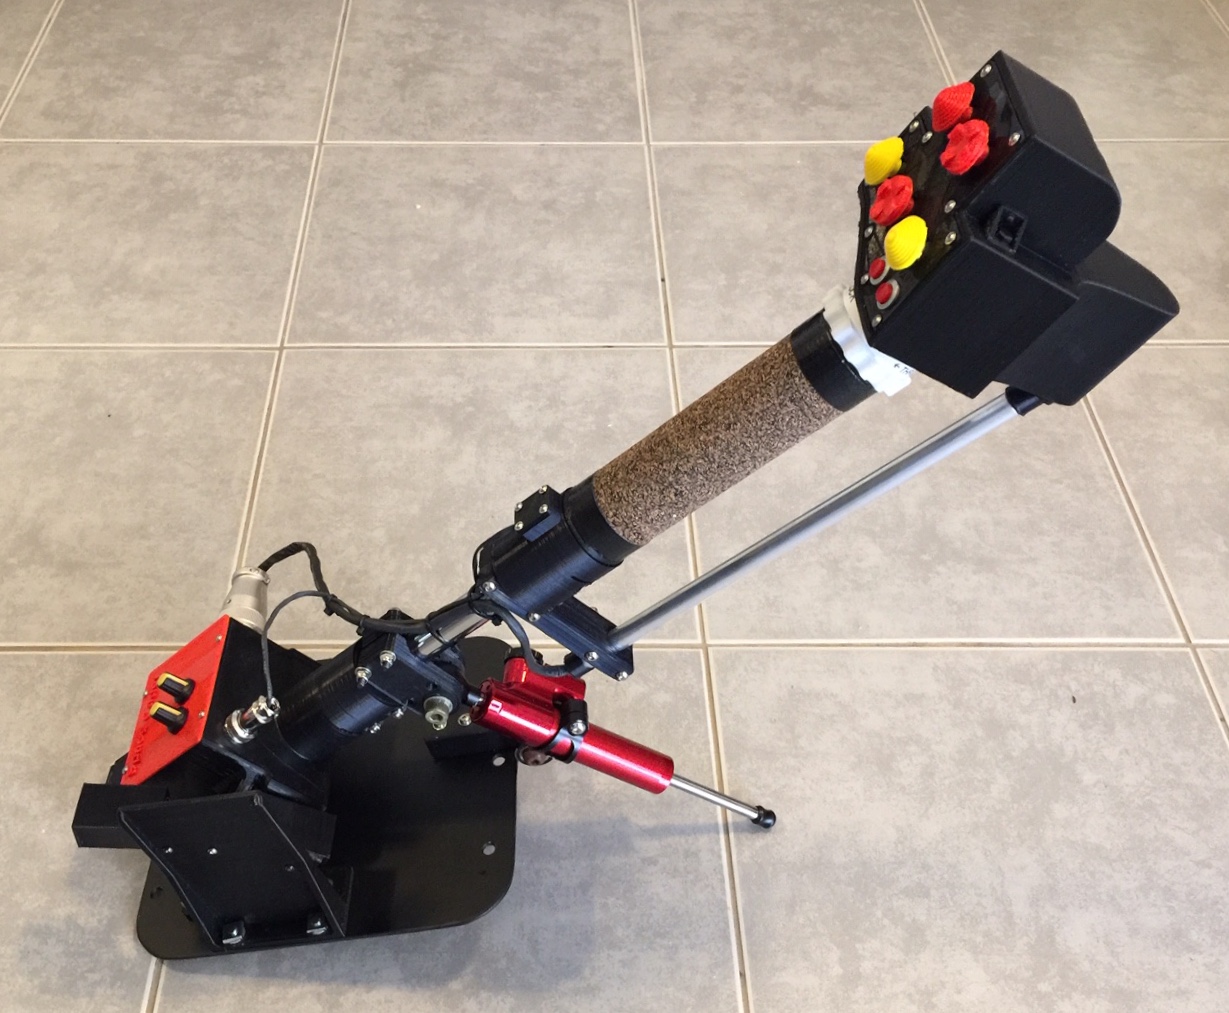
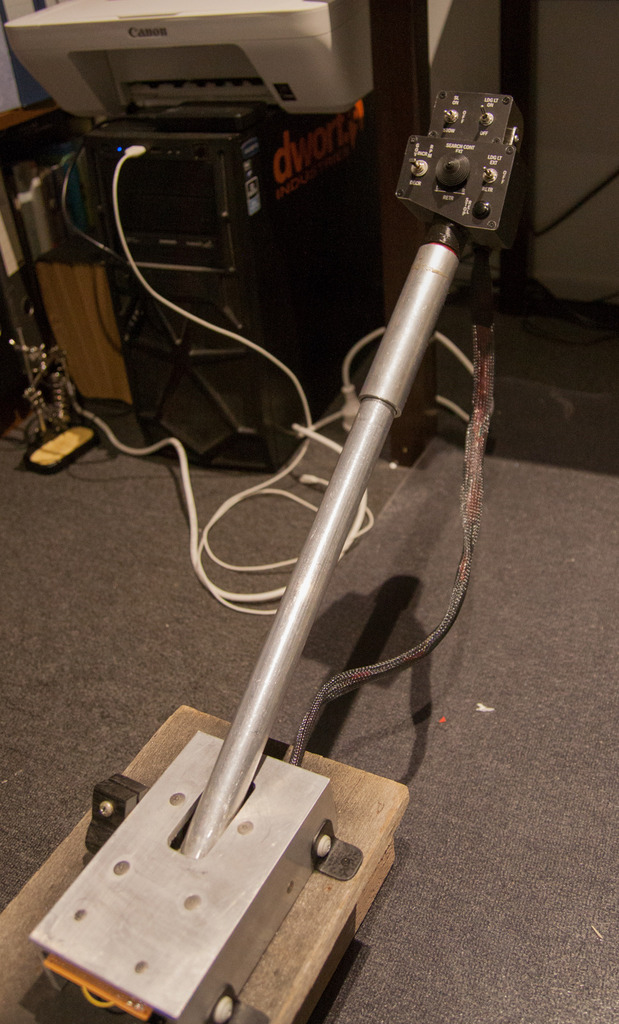
DIY Collectives
Example of Home Built DIY Huey Collective
Space_Cadets Monster Huey collective
- Frenchies Huey Collective: http://damienstpierre.com/blog/?page_id=337
Rudder Pedals
Depending on who you talk to rudder pedals are completely optional. However if you buy a joystick that does not have a twist axis for rudder control you will need a pair for control.
Slaw Device Rudder Pedals
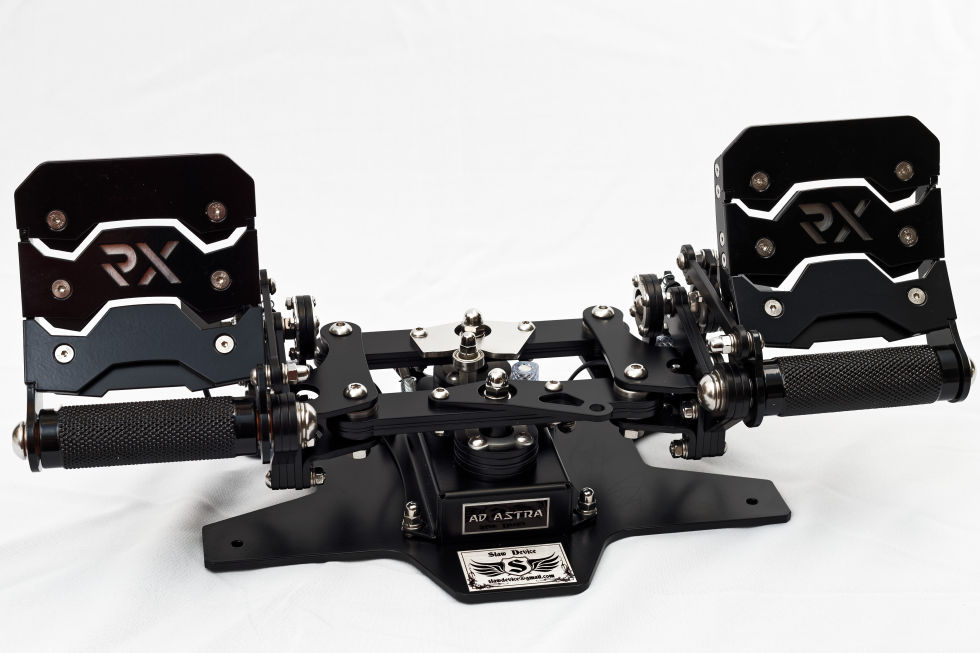
|
Slaw Device Rudder Pedals | These are just sublime, beautiful to behold & a pleasure to use. They are an all metal construction and connect via USB. |
[[File:|400px]]
Thrusmaster Pendulam Rudder(TPR) Pedals
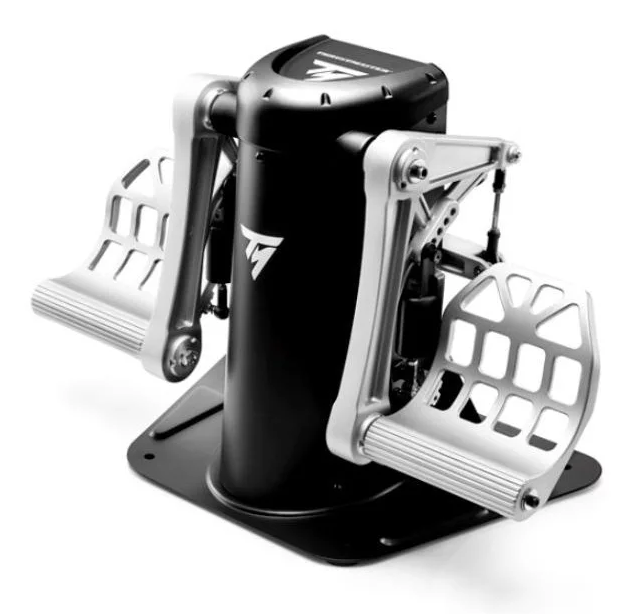
|
Thrustmaster Pendulam Rudder (TPR) Pedals | Typical Thrustmaster Quality |
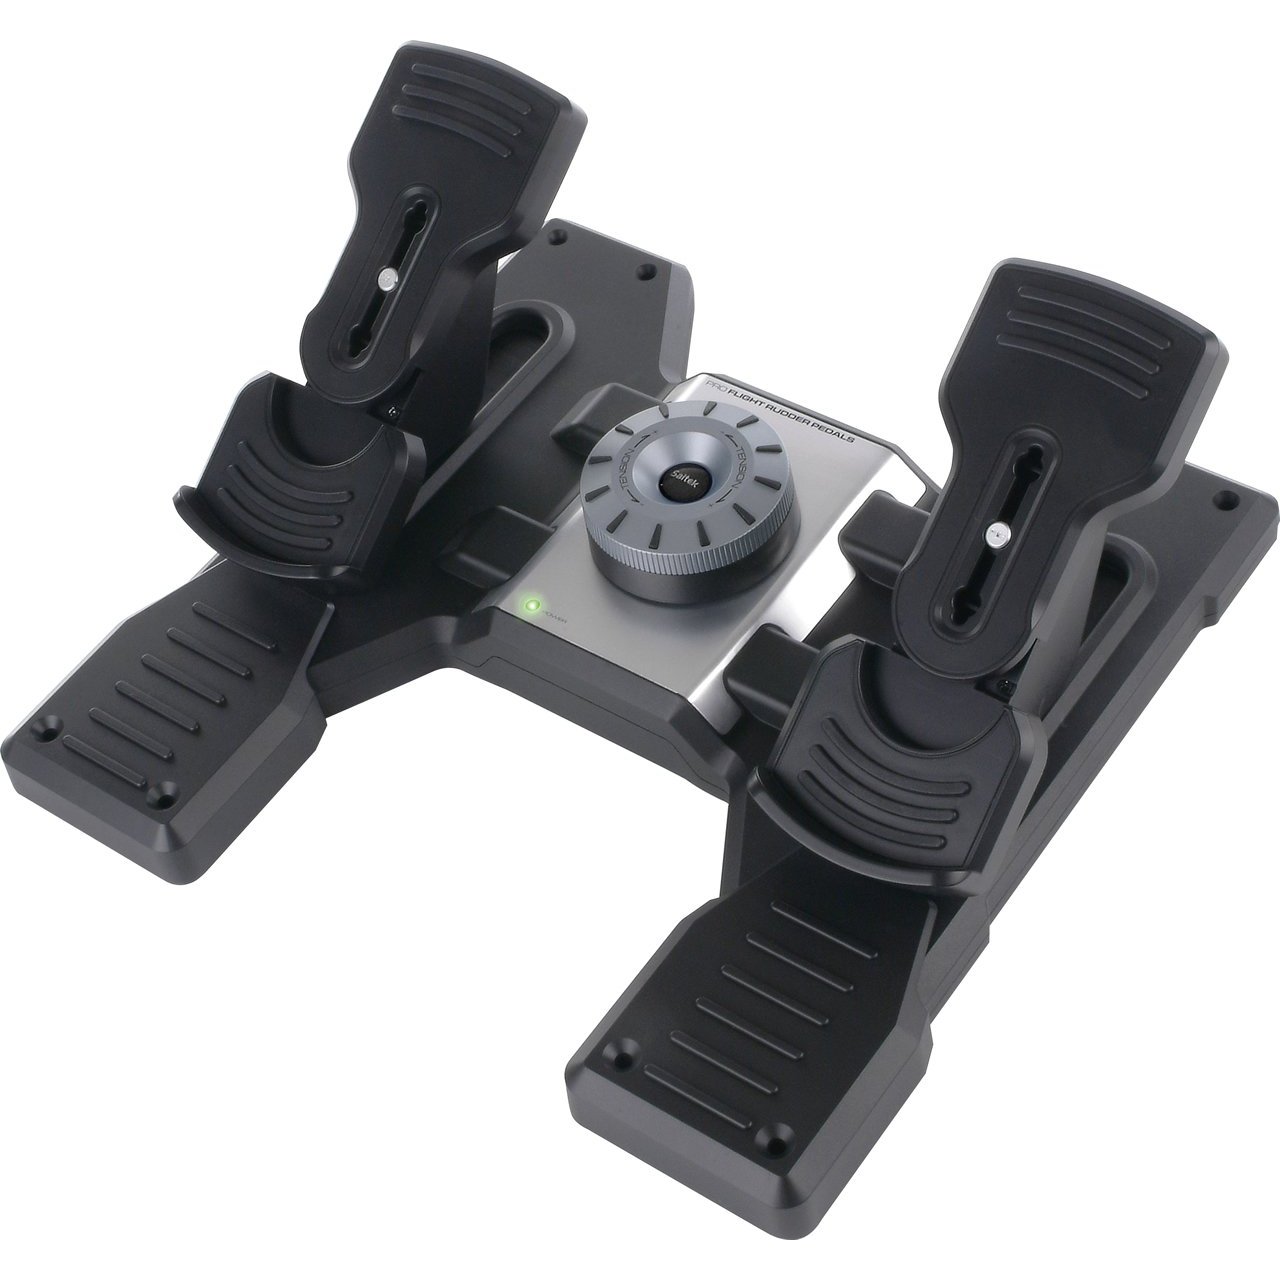
Saitek Pro Flight Rudder Pedals
These are generally well reviewed and come in at around $100 USD from many online retailers. They are an all plastic construction and connect via USB.
Saitek PRO Flight Combat Rudder Pedals
These are similar to the above but better constructed with metal instead of plastic. They do however run a fair bit more at around $170 USD.
CH PRODUCTS Pro Pedals
These pedals are also well reviewed and may be better constructed than the Saitek Pro Flight pedals. They also run around $100 USD.

