Helicopter Operations (Logistics)
Contents
- 1 RW Operations - Logistical Support
RW Operations - Logistical Support
Participation in the Hoggit Servers in a Helo is not all about shwacking armour.
Logistical support in a UH-1/Mi-8 will win the campaign quicker than you might think.
Even when an enemy airport is occupied with SAM's & AAA, it is possible to sneek in (very low level) to deploy troops and ground units/SAMs to take over an airfield.
Note: please remember this is a game. as realistically as some might like to play it,
it is only a simulation & there are specific real-world elements that are either not modelled,
given lip service to or just impossible to include.
Therefore, the "strategies &/or tactics" indicated here are not even close to real-world, or set in stone
(if you find it doesn't work for you, try something different & please pass that information on to others)
These are simply what has been discovered over thousands of hours of 'game-play' by multitudes of players
of a wide spectrum of experience, who have graciously passed on their knowledge.
Air Defence Systems (ADS)
On hoggit servers (in DCS), when placing Air Defence Systems (ADS), try not to bunch the units up this ensures that if any SEAD action occurs, you're only likely to lose a single unit/entity & not 1/2 dozen units
Some units are only single crate & can quickly be replaced, however these single crate units are usually the less effective (hence 'cheaper') units with shorter ranges or lower hit ratios.
Units that require 2, 3 & 4 crates to assemble provide more optimal cover & nominally more effective use of your time & effort to set up.
Note: Please keep in mind that the techniques outlined below are not real-world methods, but adaptations for DCS world the methods used have been developed or adopted from personal experience or mentoring by others whom have learnt the hard way on what works & what doesn't. Take it with a grain of salt. This is what works for me.
deploying crates / unit placement
Don't just dump all the crates on top of each other this will create a volatile target that when impacted will destroy most if not all the components rather than a single entity like a track radar/search radar system, these are the 'missle magnets'.
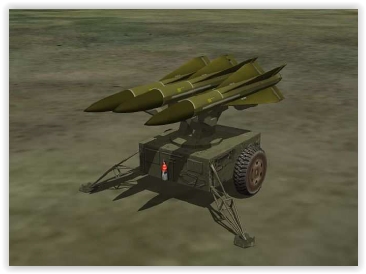
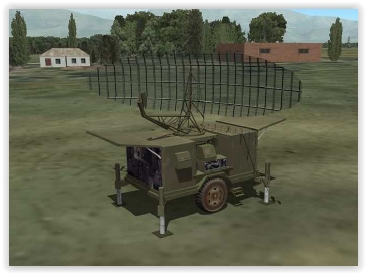
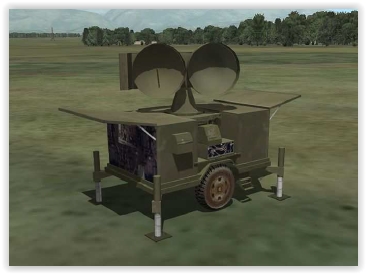
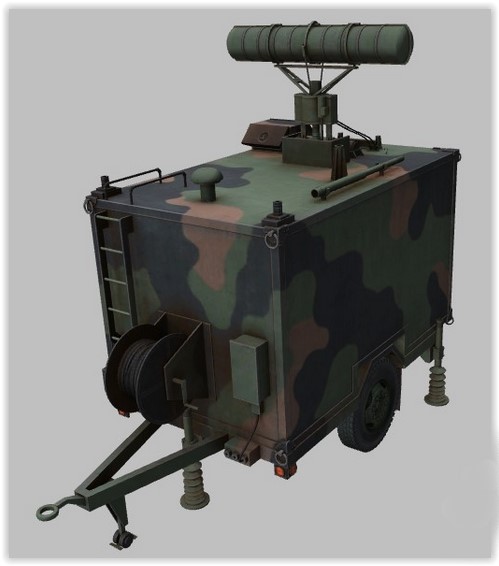
HAWK system layout
When unpacking the crates, try placing them as far apart as possible(allowable)
which from ciribobs readme; "To build a HAWK (or BUK) AA system you will need to slingload all 3 parts - Launcher, Track Radar and Search Radar - and drop the crates within 100m of each other."
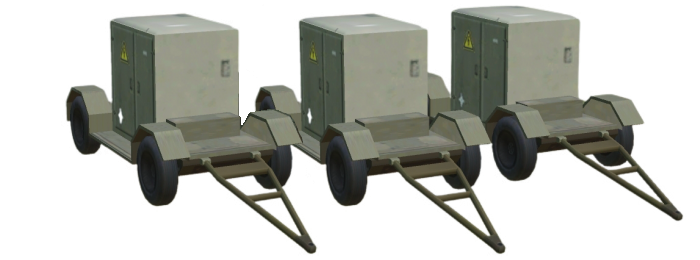
Note: there are 4 crates to the HAWK system:
All 4 components crates must be placed before the HAWK system can be deployed. Take some care in the placement of each component to make the most of a high (effort) cost system
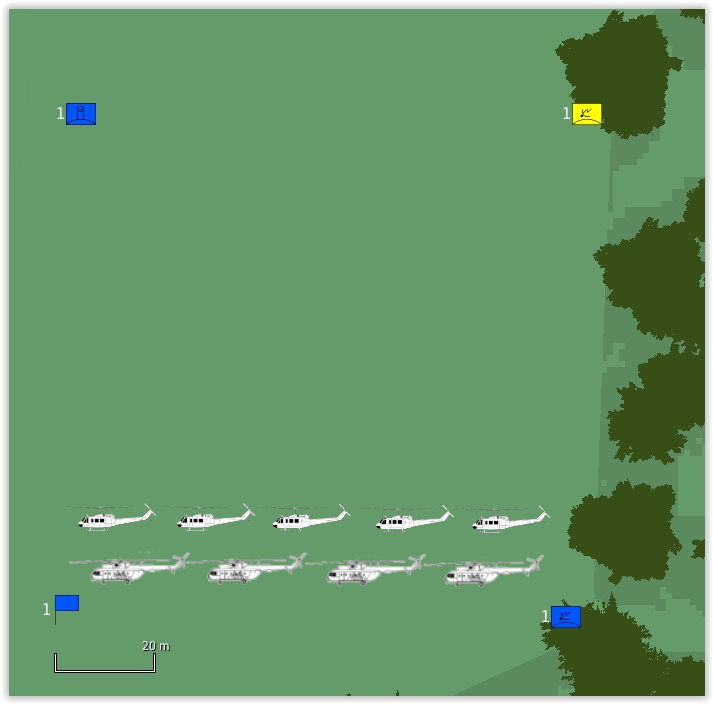
100m =
 ~5 huey lengths
 ~4 mi-8 lengths
if you place the crates too far apart, they will NOT deploy so you will have to move them a bit closer, but better to have them well spaced out than on top of each other.
Priorities
The priority when working on air defences are very straight forward:
- your own aicraft safety first,
- then the asset (airfield/FARP)
- then providing a safety umbrella for friendly air units
hence the priority of work normally undertaken should be something similar to this
- Anti- Air troops, scatter them about at the extremities of your area of work or in a line along your ingress/egress routes
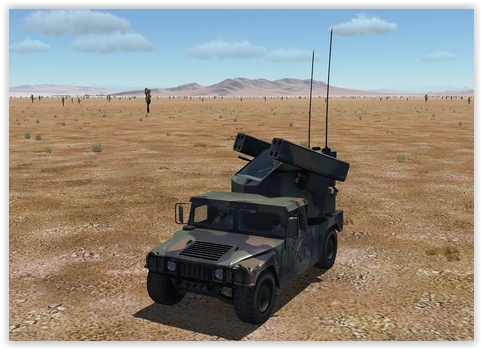
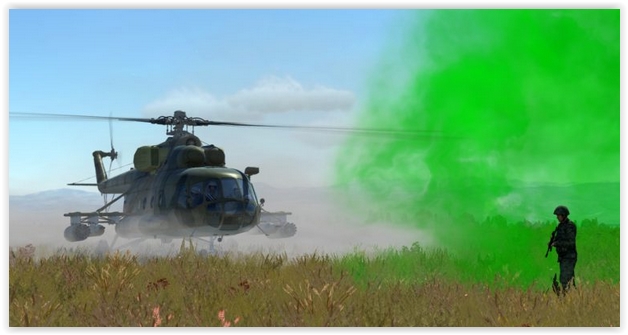
- Chapparal, nearby the FOB (green smoke) - single crate IR (no radar) & better range than crappy avenger (stingers)
- Vulcan, nearby the FOB (green smoke) - single crate good AA for close AD
- Hawk system
- Ammo truck (you should have been placing these first few items with the positioning of your first ammo truck in mind
- Roland
- Gepard
Strategies
Site Placement
playing with DCS-isms.... One mans "strategies" are another mans "cheats"
- some trees are collidable
- SEAD targets the radar emitters (anti-radiation missiles)
- DSC doesnt obscure radar detection through trees....
which leads us to:
Tactical radar placement strategies in DCS
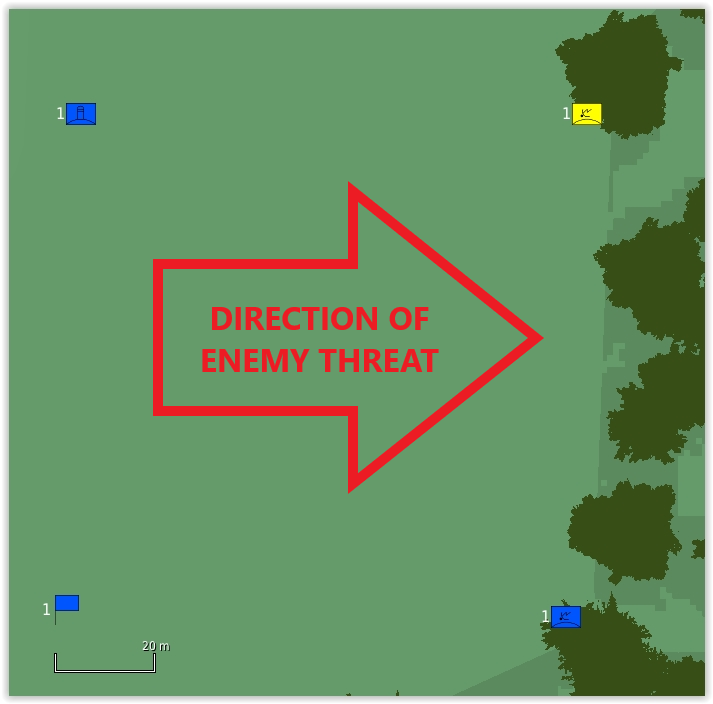
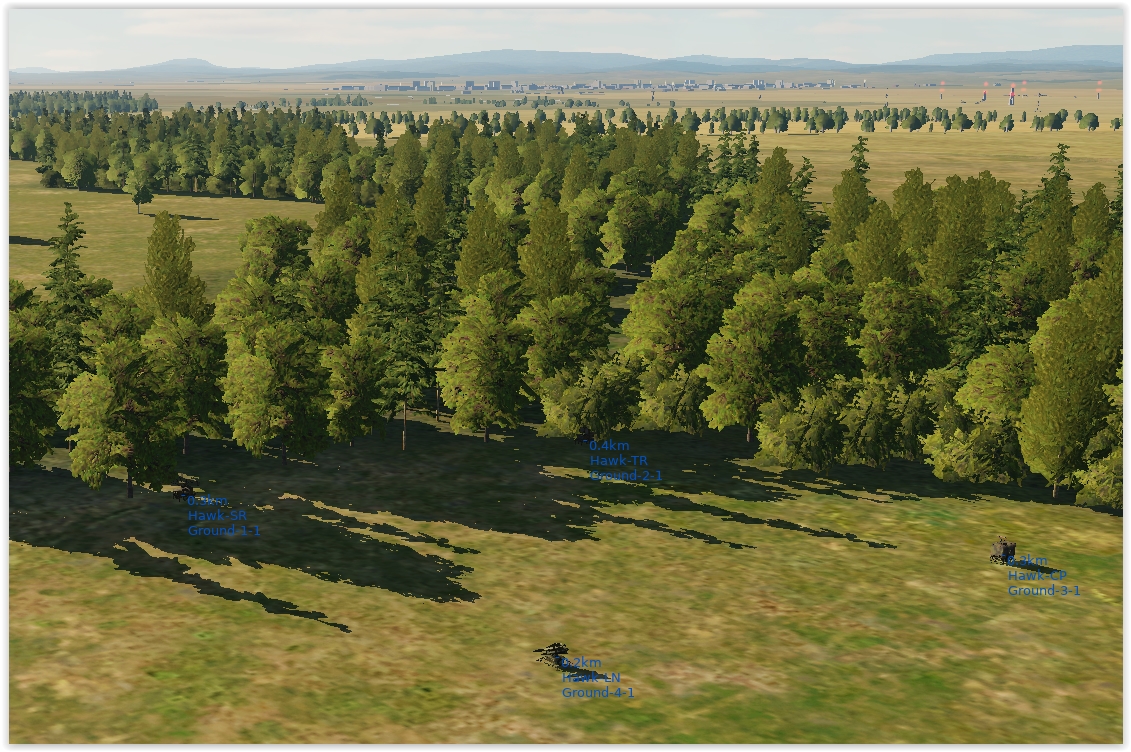
Place your hawk site to maximise its footprint to reduce/limit unit damage.
Orientate the hawk site so that the radar systems are close to/hard up against a tree line/forest.
PCP & lunchers can be exposed in open ground (launchers will need clearance of obstacles).
Ammo Resupply
These ADS sytems dont run on 'Hollywood magazines' (but the ammo trucks do) each SAM/AAA will run out of ordinace at some point, unless an ammo truck is placed in proximity enough to enable resupply
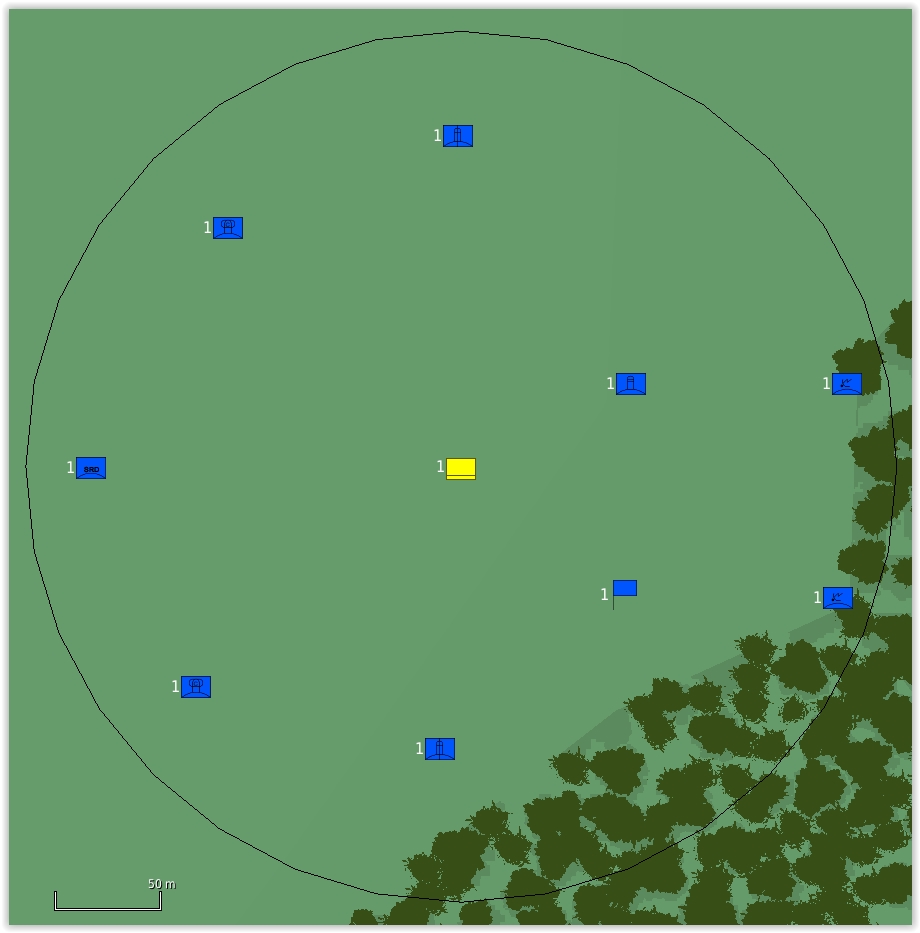
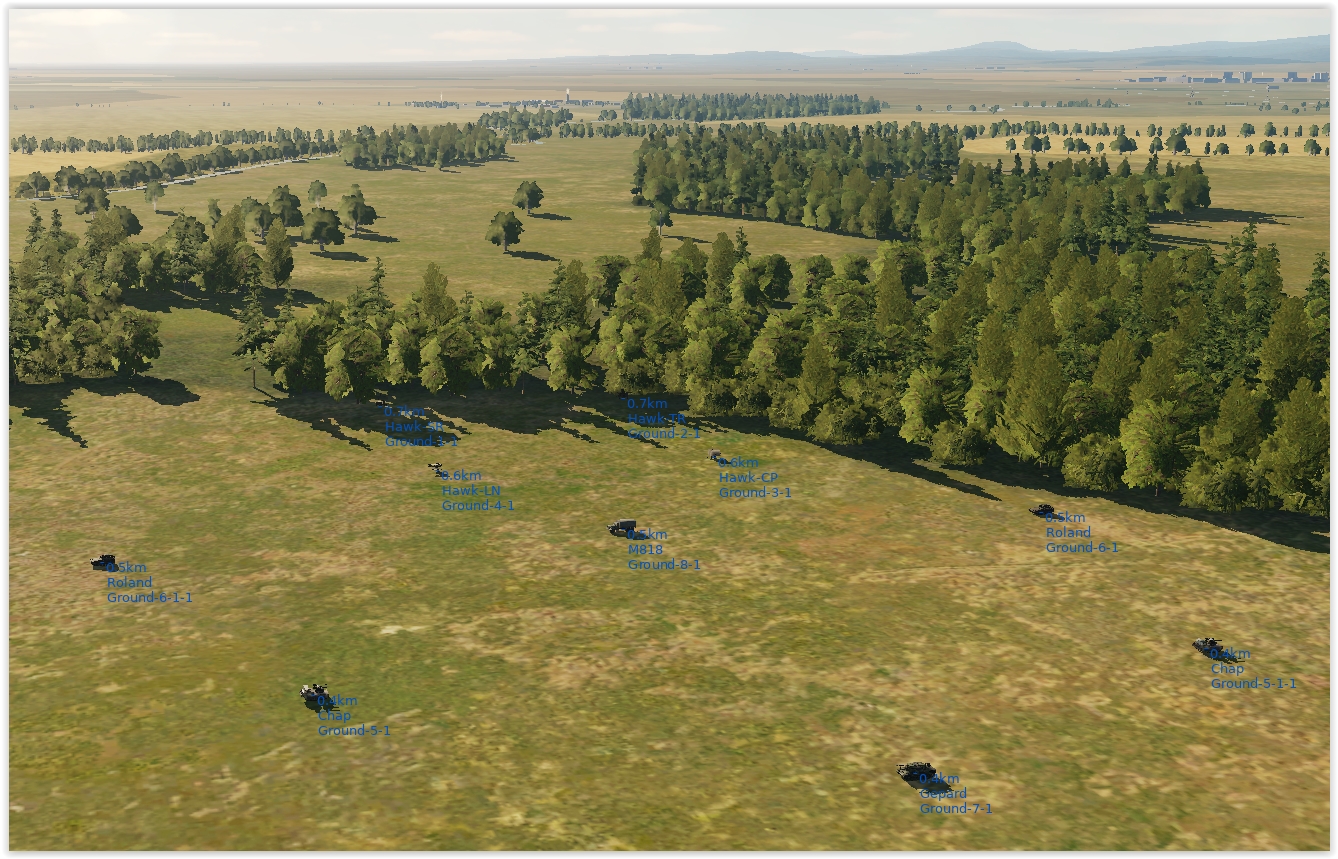
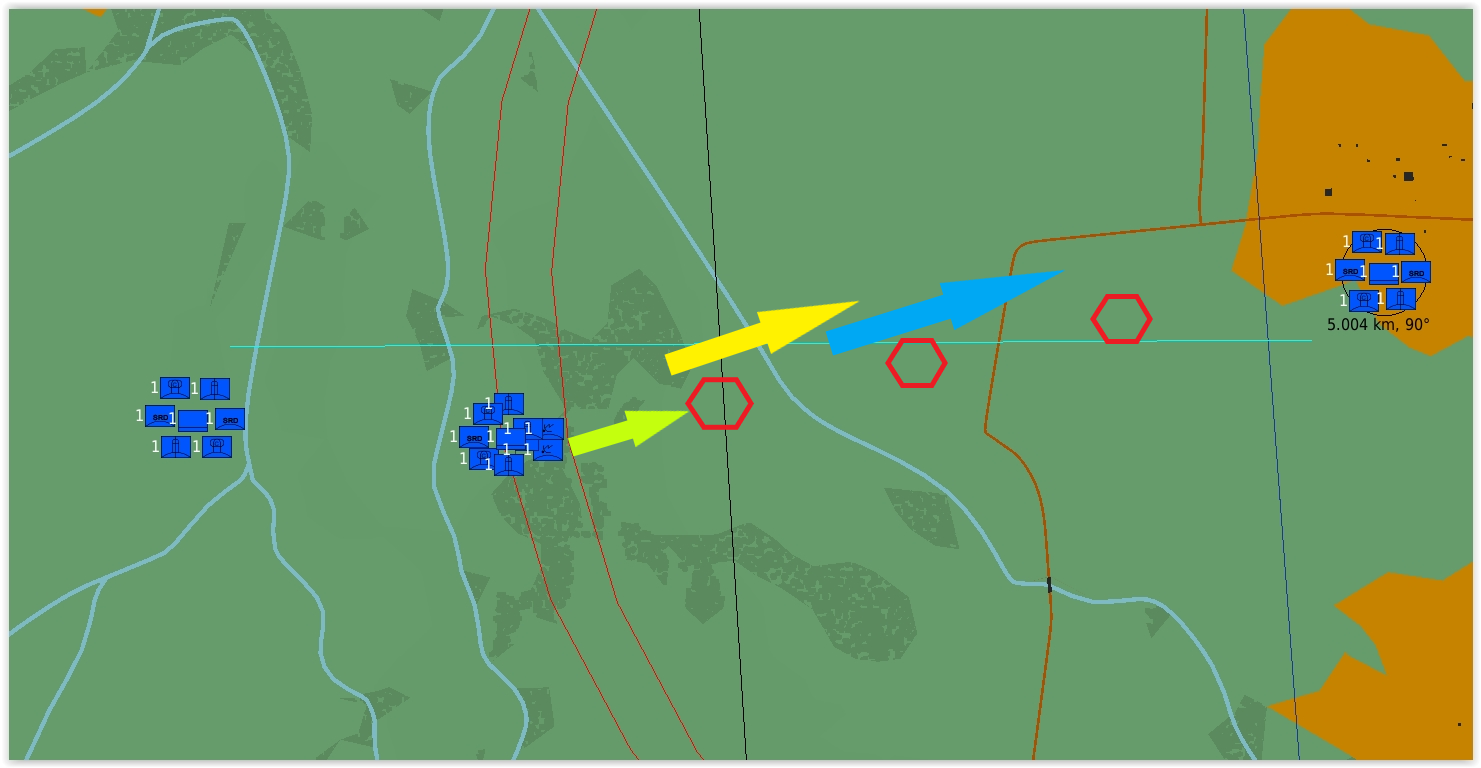
Note how the singular ammo truck, can support the adequately spaced HAWK site as well as surrounding Chaparral, Roland & Gepard systems all well spaced to prevent colatteral unit damage
Roland (ADS)
|
|
Vulcans are cheap & cheerful single crate units, they have a limited range however, but are fun to watch operating. |
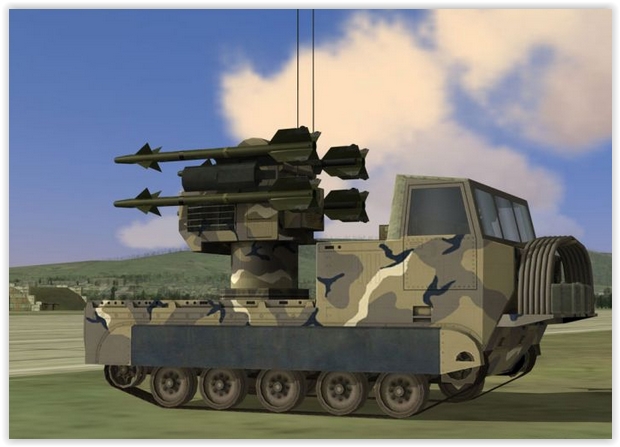
Rolands are effective defence against Kh-58U but not so the kh-25PMU, (Gee a tunguska would be nice to have.....) however they are more effective when placed correctly
When placed together & against multiple launchers, they will both fire on the first inbound missile but neither will fire on the second...
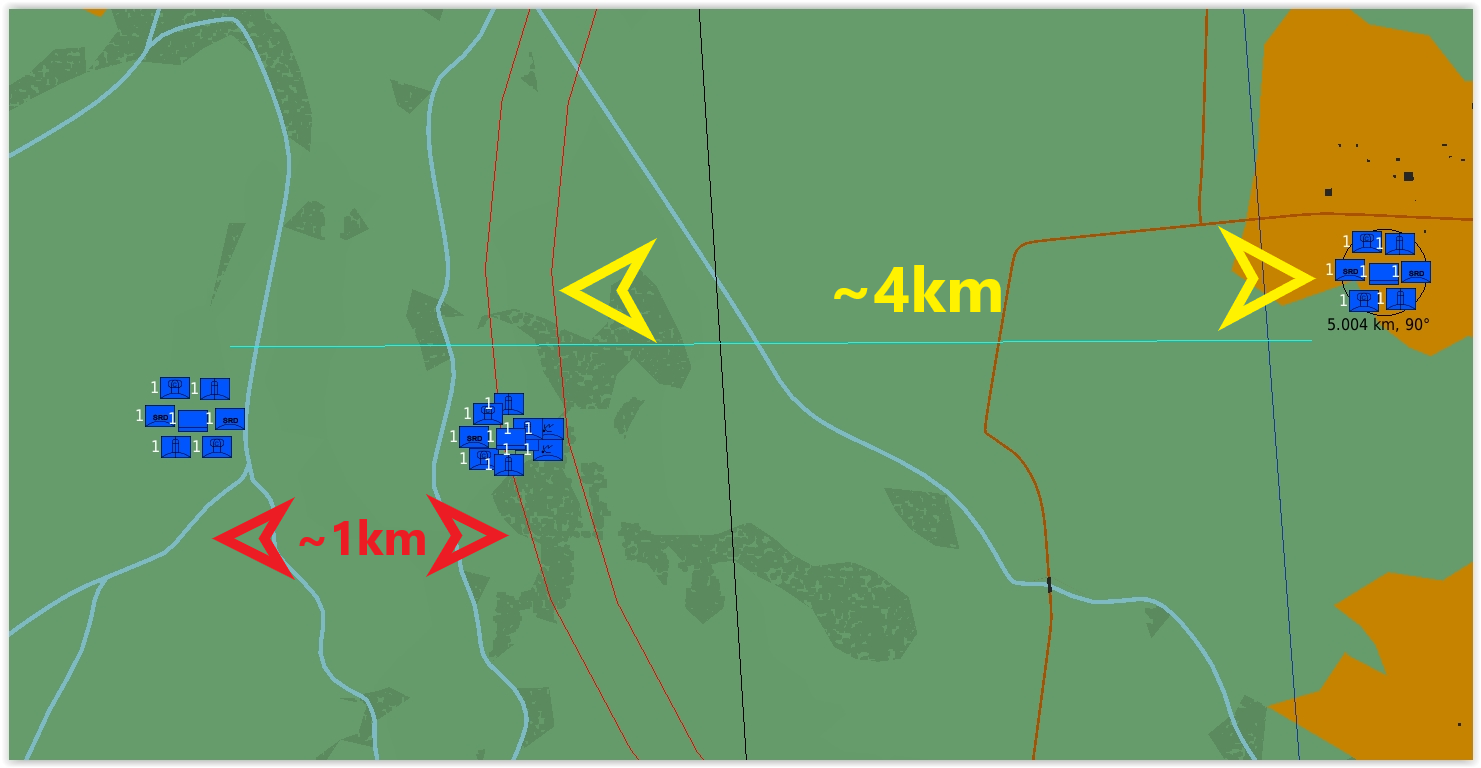
Optimal placement of rolands in combination with an established hawk site should provide:
1x roland slightly to the rear (~1km)
With another (remote ADS site including at least) 1x roland well forward of the hawk site (~4km)
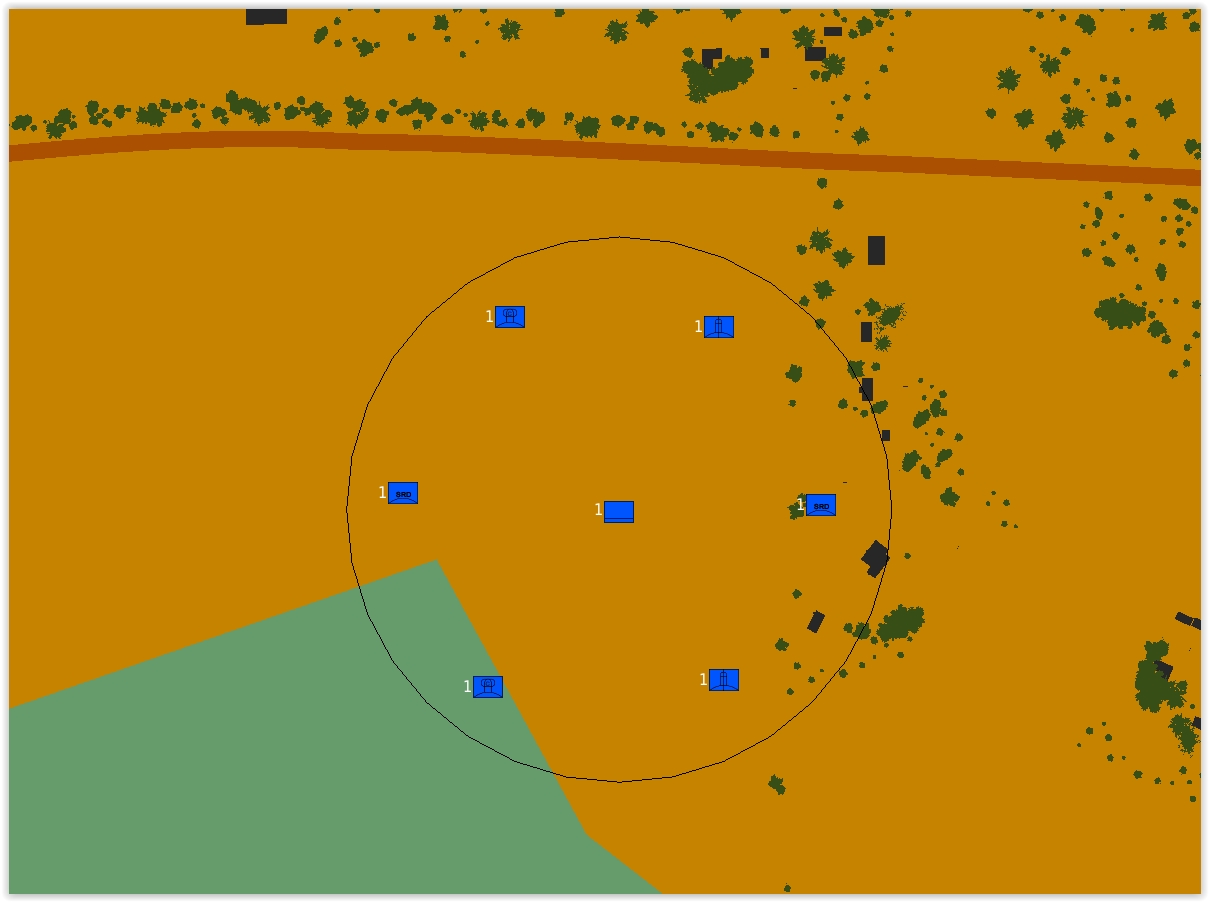
It has been found that these ADS/AAA units placed in supporting these positions with 2 of each type as a template are very effective remote Air Defence System.;
- 2x Roland
- 2x Gepard
- 2x Chaparral
- 1x Ammo truck
These remotely located ADS sites will require their own ammo truck in order to provide continuous support as per the radar strategy for the HAWK sites, it is possible to position the Rolands & Gepards with some cover from treelines or forests to potenitally minimize effectiveness of the AI's SEAD oeprations. (don't get too close though as the Roland wont be able to launch adequately)
Anti-Air Artillery
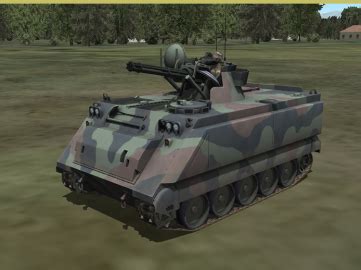
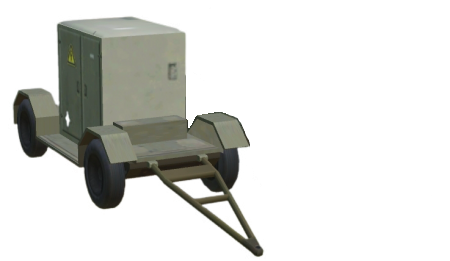
M163 Vulcan
|
|
Vulcans are cheap & cheerful single crate units, they have a limited range however, but are fun to watch operating. |
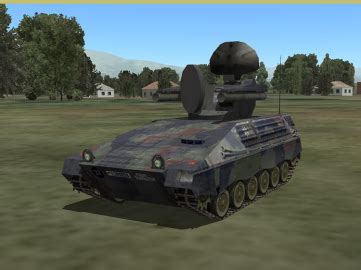
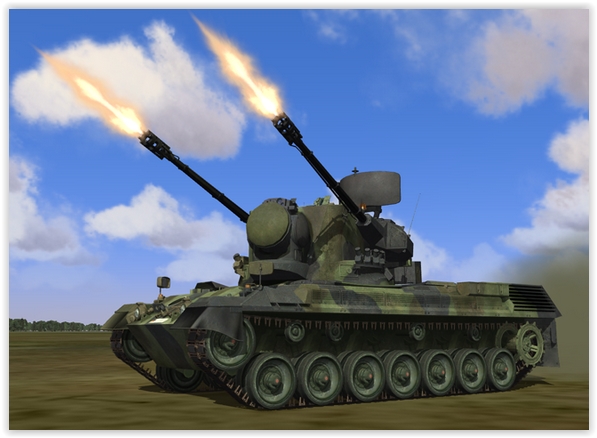
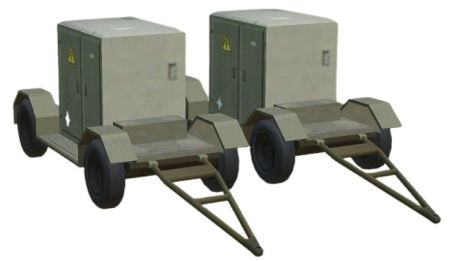
SPAAG Gepard
|
|
Self-Propelled Anti-Air Gun - Gepards are a 2 crate unit but far more effective, these will provide some decent AAA cover up close. |
IR missiles
ManPADs
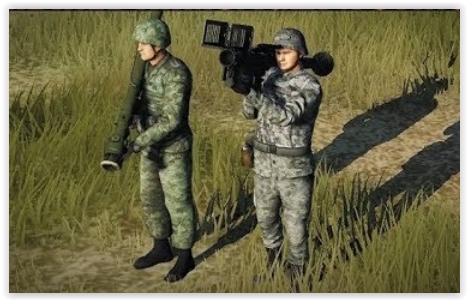
... ALWAYS carry anti-air troops with you.
Friendly air units (CAP) are rarely ALL on comms or co-ordinating with GCI (sad reality - despite so much co-op play)
lacking human GCI / CAP units on comms  & reliable support, helis will often have to fend for themselves
pushing out away from airports / FARPs & any established ADS umbrella coverage is prone to draw the AI air threats.
as soon as you see a fast mover inbound, get down to tree level, slow down & seek cover behind a building
(cities are great for this) & deploy your AA troops & wait.
Quite a few surprise kills with manpads can be achieved, whilst avoiding AI air threats. once eliminated, pickup the ground troops & continue on your way.
If you're operating with a few helis co-op & are doing long hops to place a new FOB or ADS, each player can land & drop their anti-air troops (leap-frogging) along the route (outside of larger ADS umbrella coverage) to help protect your transit legs.
This is an effective tactic especially if multiple turnarounds are required, providing you with a 'transit tunnel' of manpads at least to act as some minimal protection from AI air threats.
(wont stop you being shot down by trigger happy "friendly" air units though!).
Wind Direction
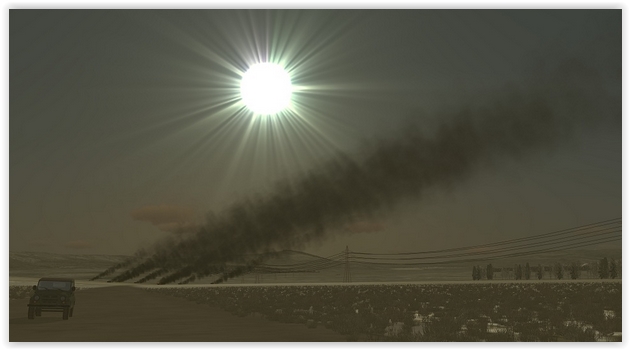
Watch the smoke in game, industrial smoke stacks, house chimneys, FOB's & smoke grenades. these will all provide suitable wind direction indicators - use them.
You should always attempt to land into wind in a helicopter especially in an mi8
(which has a tendancy to fall out of the sky on approach if you so much as change your mind)
So keep a mental note on the wind direction & fly your approaches & departures accordingly.
Smoke grenades also have a relatively short life span, keep this in mind when placing units at a distance away from your FOB, you may want to drop a smoke grenade prior to returning to the FOB to make it easier to return again.
When you return to the FOB & once landed (into wind) turn back towards the smoke signal to re-orientate & pick out a landmark &/or set your compass carrot, in case the smoke expires whilst you're busy aquiring your next cargo to haul.
When flying out away from you base - set your compass carrot to simplify your return route navigation. (compass carrot will allow you to fly out & reciprocal heading much easier/quicker than smoke & if you have voice attack too, it's too easy to just say "drop <colour> smoke" even whilst your picking up).
Note: remember when flying the Huey to always check your RMI to your standby compass,
unlike the Mi8, it has to be aligned manually, if you do not check this beforehand,
you might end up "geographically embarassed".
Radio beacons
Radio beacons are better used when performing longer distance unit placement (beyond directly visible / line of sight) this will require you to be familiar with your radios in order to set the frequency for homing. definitely worth it though when trying to navigate whilst under constant air threats. its all too easy to get turned around whilst evading & if your not super famililiar with the area you're flying in, you'll get lost & probably have to land to F10 map your way out of it/back to base.
Ground Units
Troop Transport
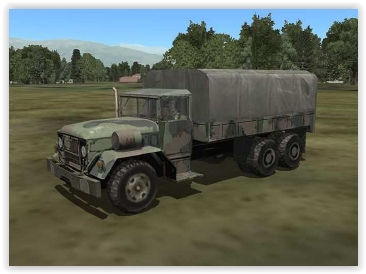
Ammo Trucks
Make sure to consider the placement of your ground units in proximity to a supply truck to avoid running out or ammo. If a supply truck or ground unit is out of range of each other, a CA user in a JTAC slot can occupy & relocate either the ground unit or supply truck (whichever is most optimal) to achieve maximum coverage.
Combined Arms / JTAC
The JTAC positions in the server lobby will allow players to participate by taking over ground units such as artillery, SAMs & AAA, or tanks & other vehicles.
Provided of course that they have the Combined Arms module installed.
This will allow CA players to occupy ground units, take on otehr enemy ground (&/or air) units, & sieze/capture objectives (Airfields & FARPs).
Armour
CA players can occupy artillery units such as the M1A1 Abrams & create a collosal amount of carnage to enemy ground units of all description.
Even to the odd aircraft if its low & slow enough. (as well as silly enough to pass in front of the 120mm cannon).
Artillery
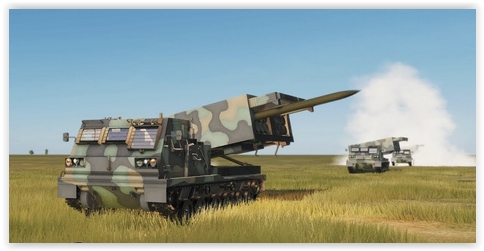
|

|
CA players can occupy artillery units such as the MLRS & rain down a world of hurt on static AI ground units from a distance...
without so much as risking a grazed elbow. |

