Difference between revisions of "POS PB"
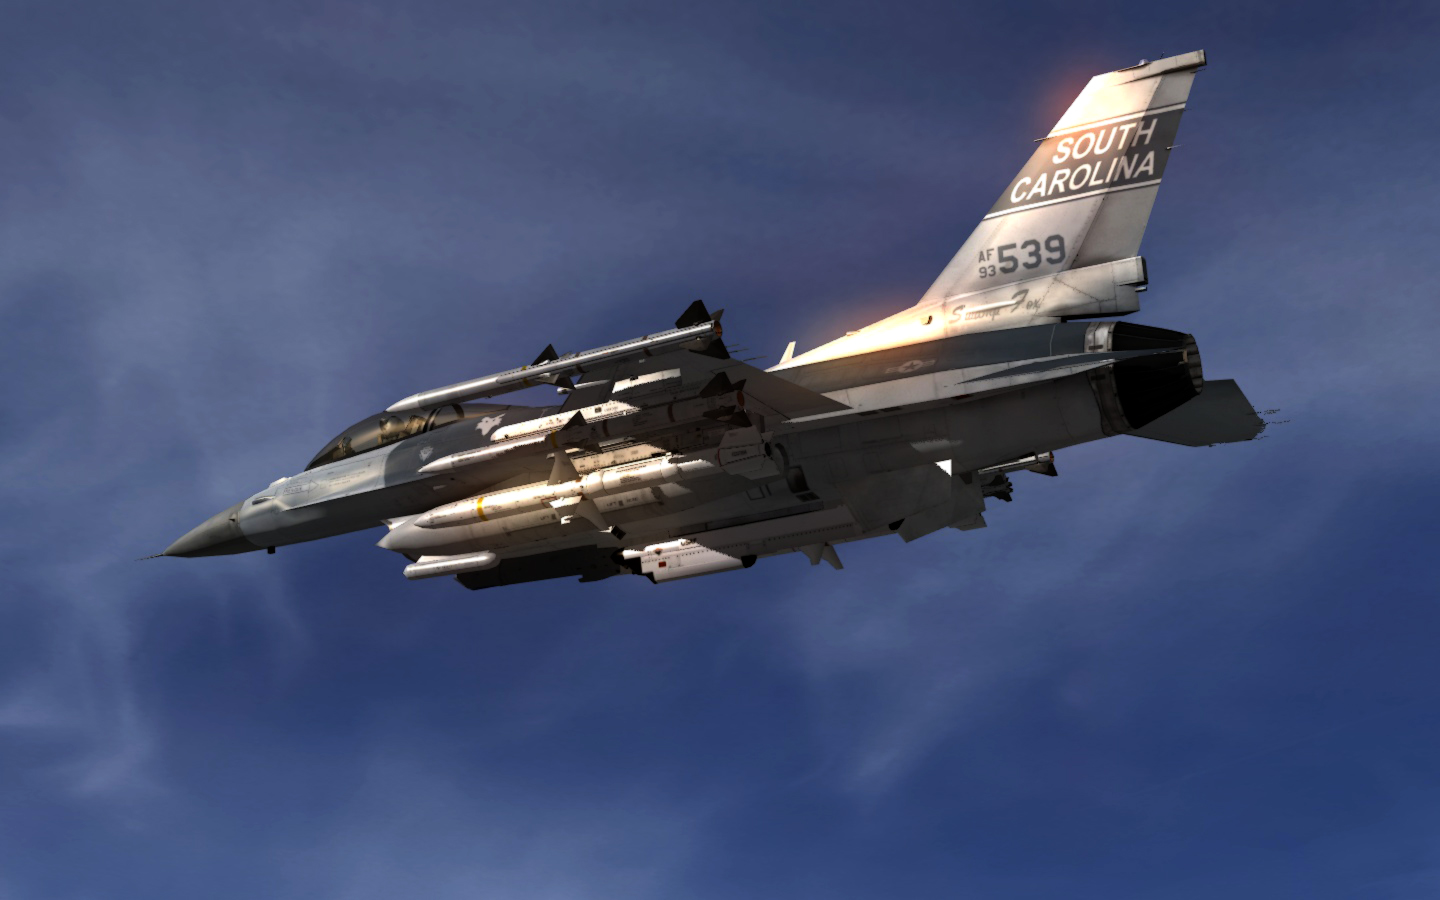
(Created page with "thumb|right|An F-16C Block 52 of the 157th FS; 'Swamp Fox' == Overview == PB (Pre-Briefed) is essentially the same as POS EOM with a few differences....") |
(No difference)
|
Latest revision as of 23:42, 17 May 2018
Overview
PB (Pre-Briefed) is essentially the same as POS EOM with a few differences. In PB mode the HARM seeker has a wider FOV upon activation and if the HARM seeker does not detect a target after 2 minutes of flight time it will self-destruct. PB mode is also designed for long-range loft shots, although the 2 minute limit on the time of flight somewhat limits this capability. PB mode is accessed either by pressing OSB#3 when in any other POS mode, or by pressing the Pinky Switch to cycle through the modes.
- Advantages of POS PB
- Location and threat specific for high accuracy
- Wide seeker FOV
- Capable of long-range lofting
- Capable of complete HOTAS control
- Disadvantages of POS PB
- Cannot tell threat status (active, inactive, tracking/firing)
- Wide FOV; if the target is on the edges of the FOV the missile may not be able to maneuver to the target
- 2-minute limit on TOF before self-destruct
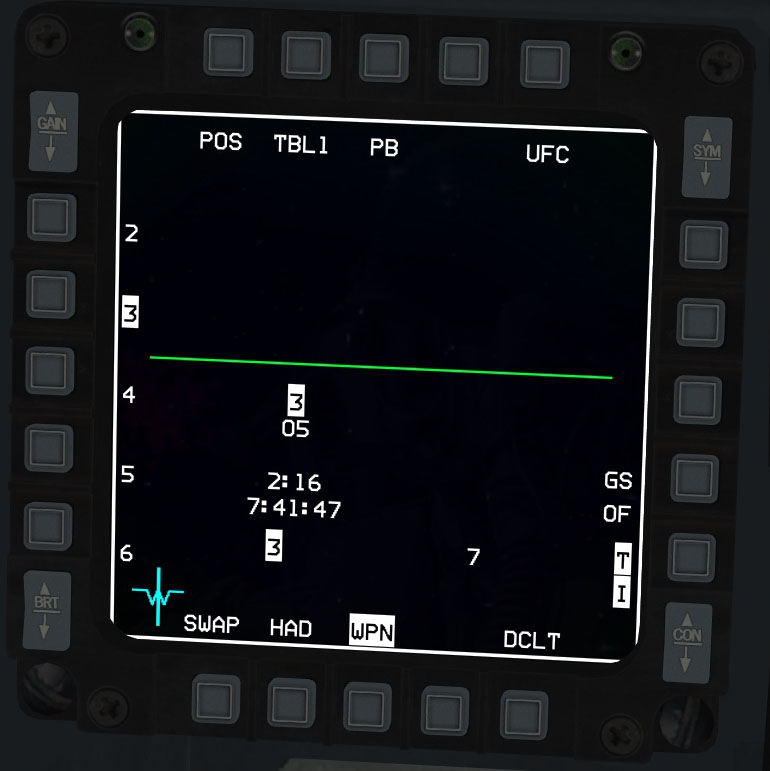
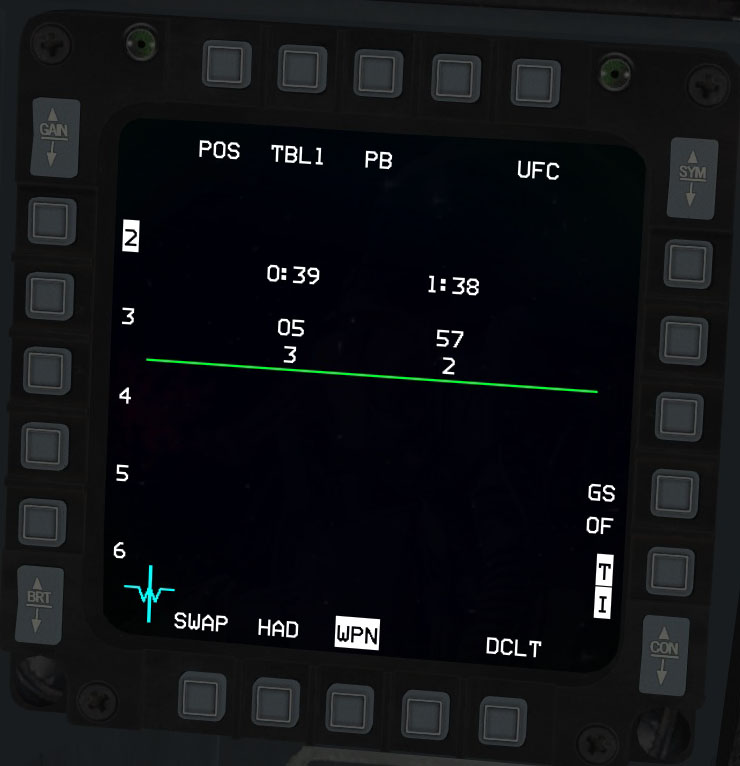
PB Page
The POS PB page is exactly the same as the POS EOM page.
HUD Symbology
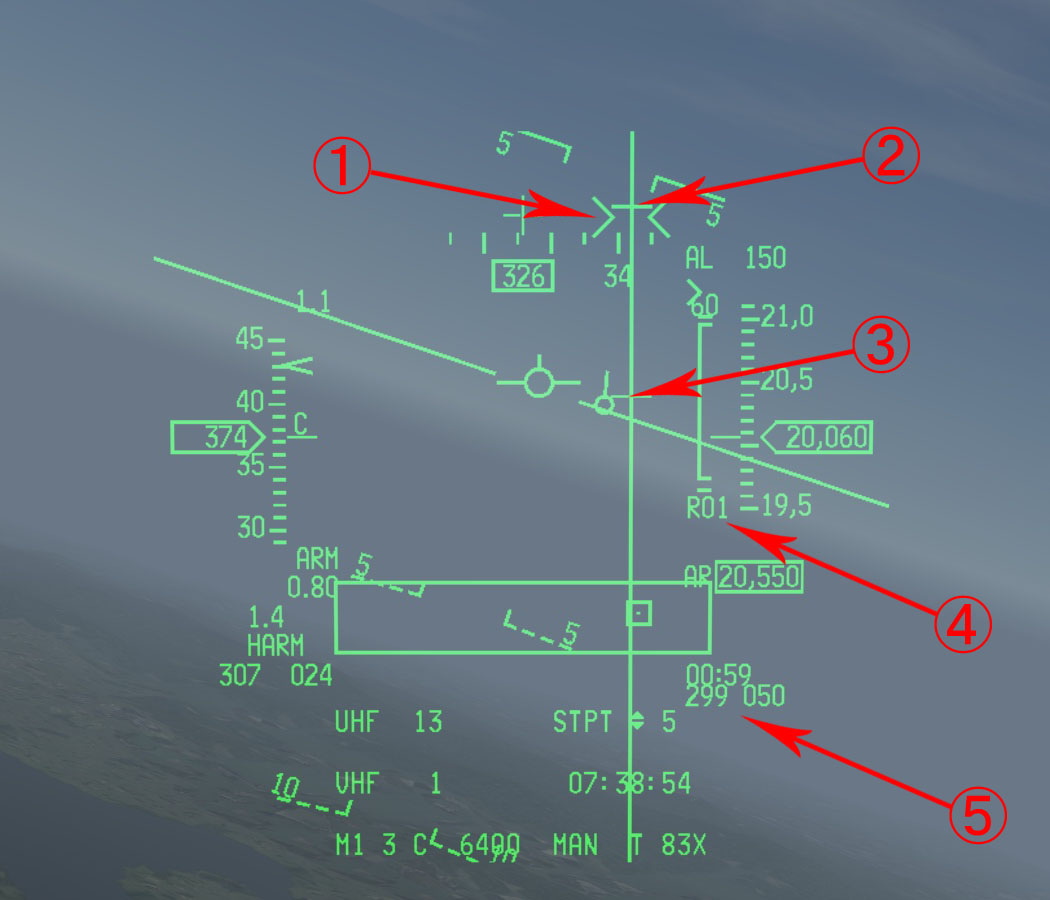
The HUD symbology in PB mode is again very similar to POS EOM mode, with a larger FOV box and the addition of lofting cues on the Azimuth Steering Line.
- 1
- > < indicates optimum loft for the HARM
- 2
- Max Pull-up cue
- 3
- Min Pull-up cue
- 4
- Direction to target (Right 10 degrees in this example)
- 5
- Time until the target is within range, and bearing/distance to target (not always accurate)
Designating a Target
Designating a target with POS PB mode is exactly the same as with POS EOM mode.
Lofting a HARM with PB Mode
Making a loft shot is actually very simple. As long as the > < optimum loft cue is below the Max Pull-up cue you can fire and potentially kill your target even if it is shown as being out of range on the HARM Launch Scale. Be aware that the further you loft the HARM, the more of a chance it will run out of its 2-minute TOF and self-destruct if no emitting threats are detected.


